


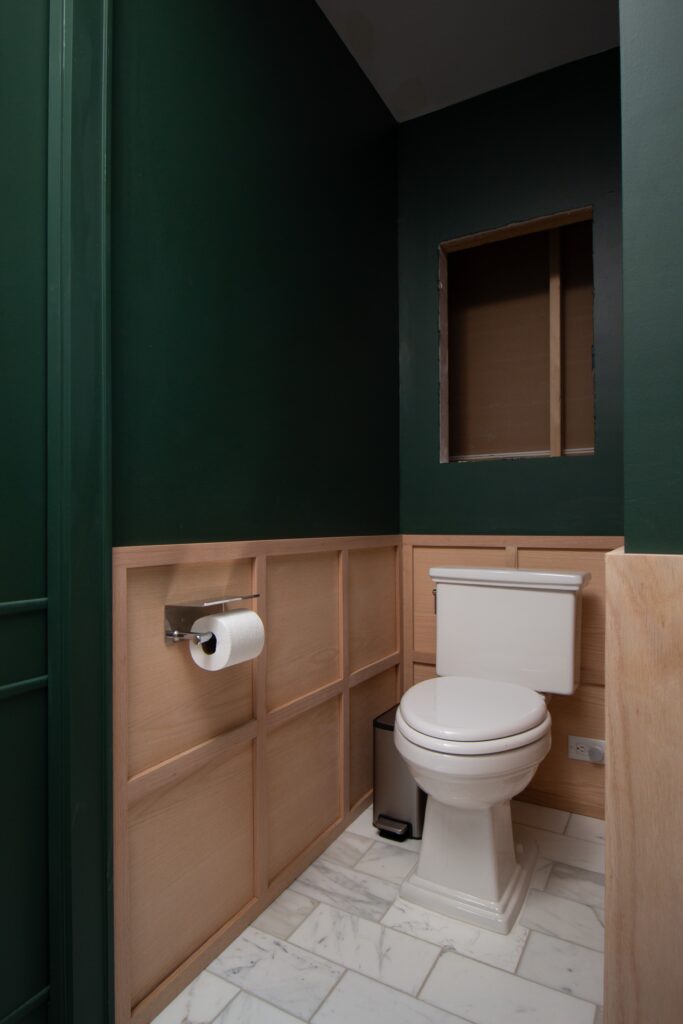
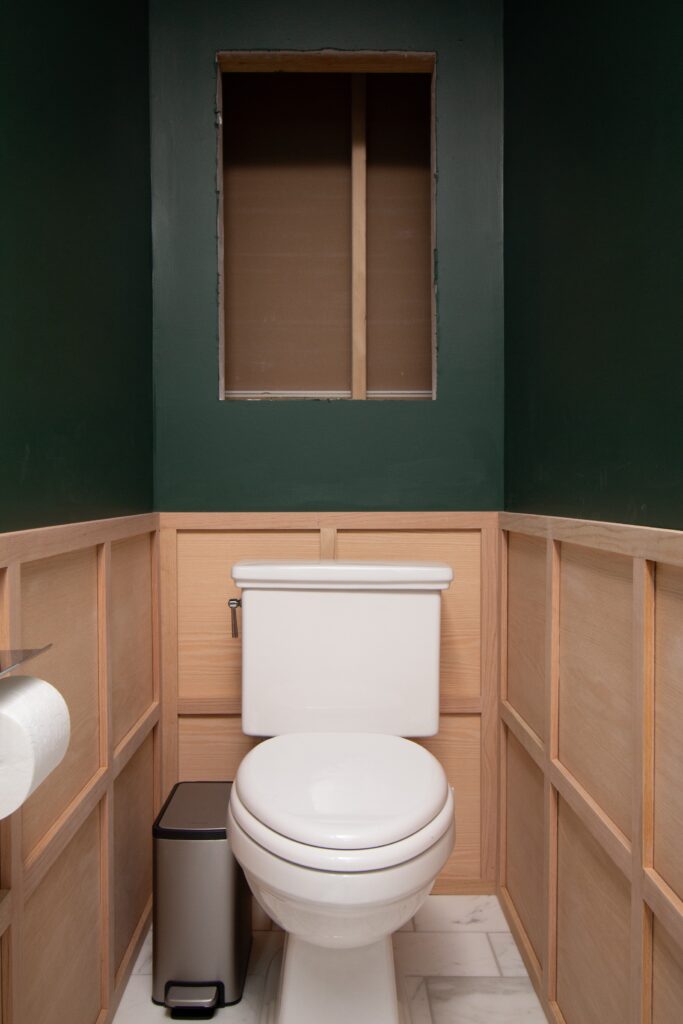
We are wrapping up our bathroom remodel and one of the remaining items left is to install a shaker style wood paneling to the bottom half of the wall. Installing shaker styling paneling is super easy, measure, cut, install, nail, nail, done! It’s very similar to board and batten style molding. However, I want to try to use a method that uses as minimal nails as possible, which means less holes and seams to fill after!
Materials
- 1/4″ red oak plywood
- Red oak 1×2
- Liquid nails
- Wood glue
- 220 grit sandpaper
- Painters tape
Tools
- Table saw
- Circular saw
- Router
- Electric sander
- Clamp
- Caulk gun
- Nail gun
- Steel carpenter square
- Miter clamps
Tutorial
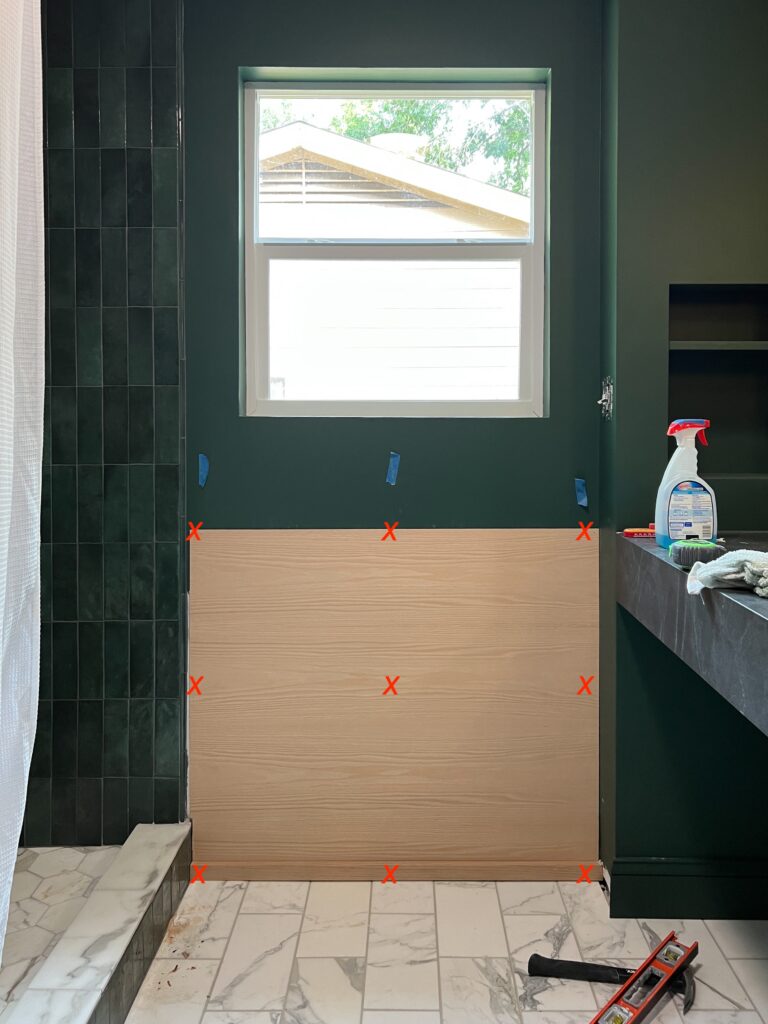
Step 1: Add Plywood Backing
Since I am staining all the paneling, I need to add backing to the wall before I install the shaker trim (if you plan on painting everything, this step is not needed). I used 1/4″ red oak plywood and cut it down to size by clamping down a straight edge and used a circular saw. Then I attached it to the wall using finish nails. I made sure to only add nails where I know will be covered by the shaker trim, so around the perimeter and one in the center since I am doing a grid design.
Note: I bought the 1/4″ oak plywood from a local lumber store because the quality is better.
Step 2: Cut 1×2 to size for Shaker Style Wood Paneling
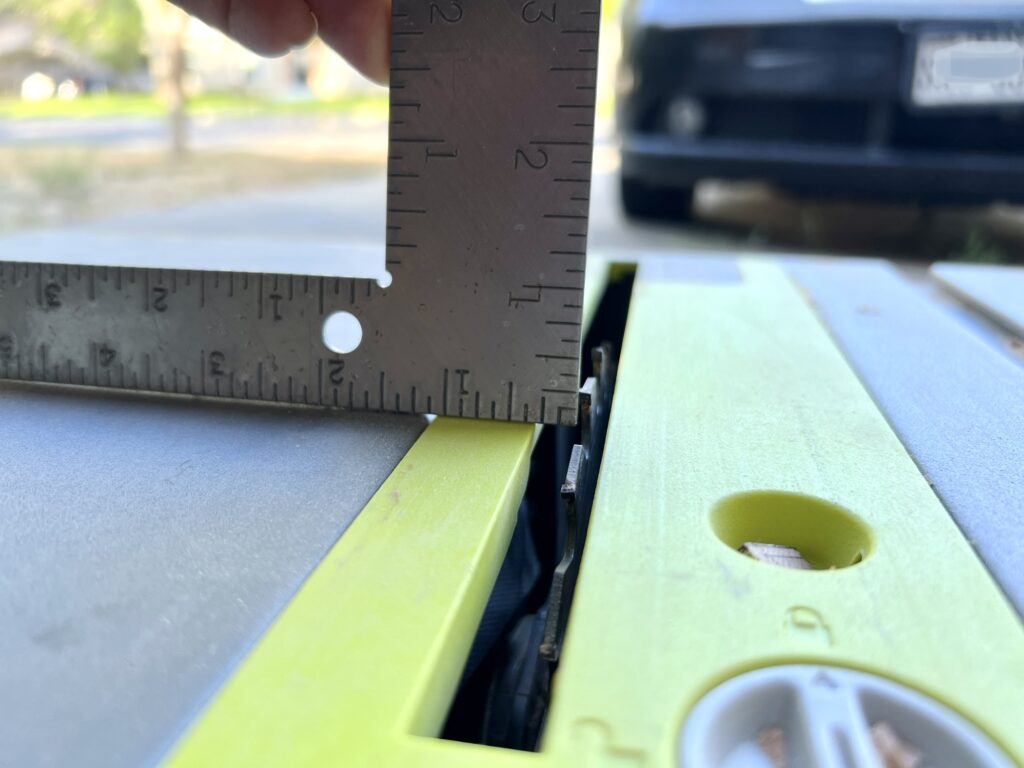
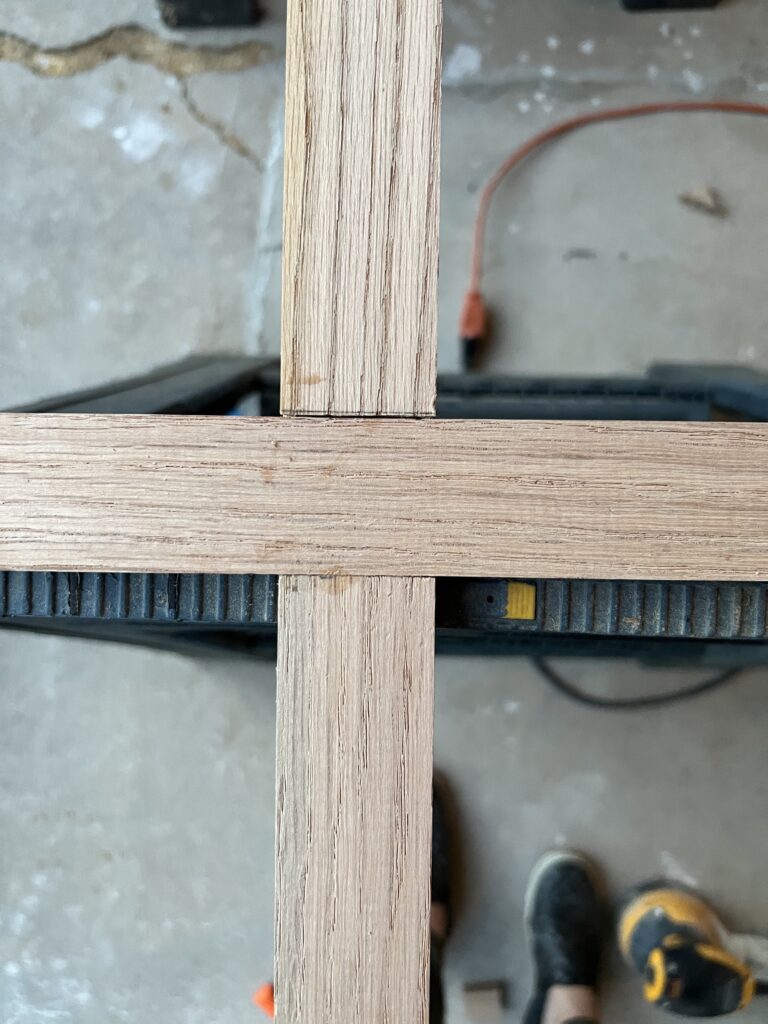
For this step I am using red oak 1×2, however, since I didn’t want them to look too thick, I trimmed down to a .5″ thickness using a table saw. I am joining all the wood together using lap joints. If you are unfamiliar with lap joints, it a simple way to join two piece of wood by overlapping each other, this means so screws or nails needed!! I measured the length of each piece of wood and then added two inches to allow for the lap joints. Then I used the table saw to make grooves big enough for the wood to overlap. The depth of the table saw blade was set to .25″ (half the thickness of the .5″ wood). I used a steel carpenter square to make sure i have the blade at the correct height.
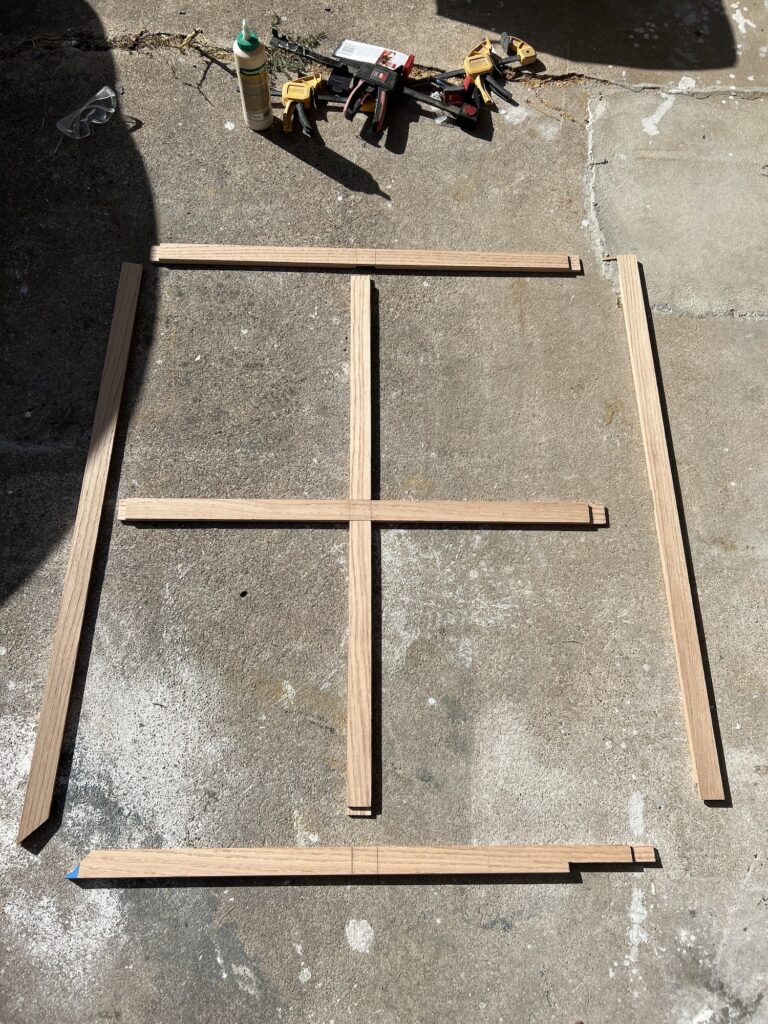
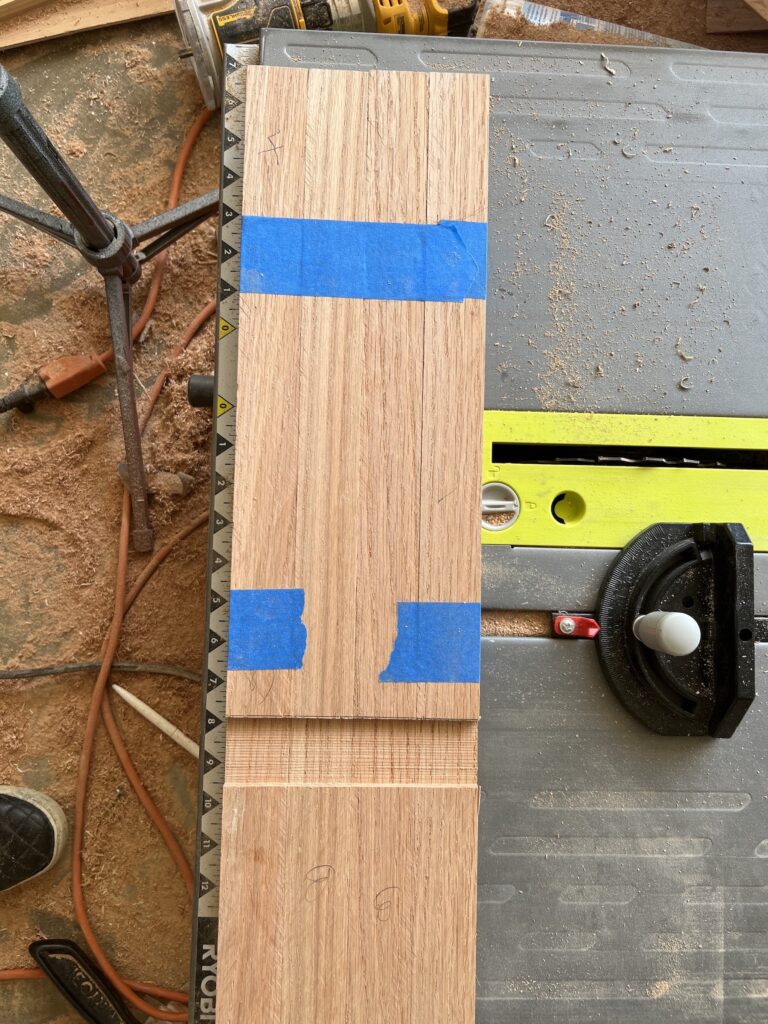
I cut all the horizontal pieces individually, but I tried to make the groves for the vertical pieces all at once. Let me show you what I mean. For each wall panel, i taped the vertical wood together and then ran it through the table saw at once so I know, it’s all at the same location. Make sure to dry fit everything before moving on to the next step!
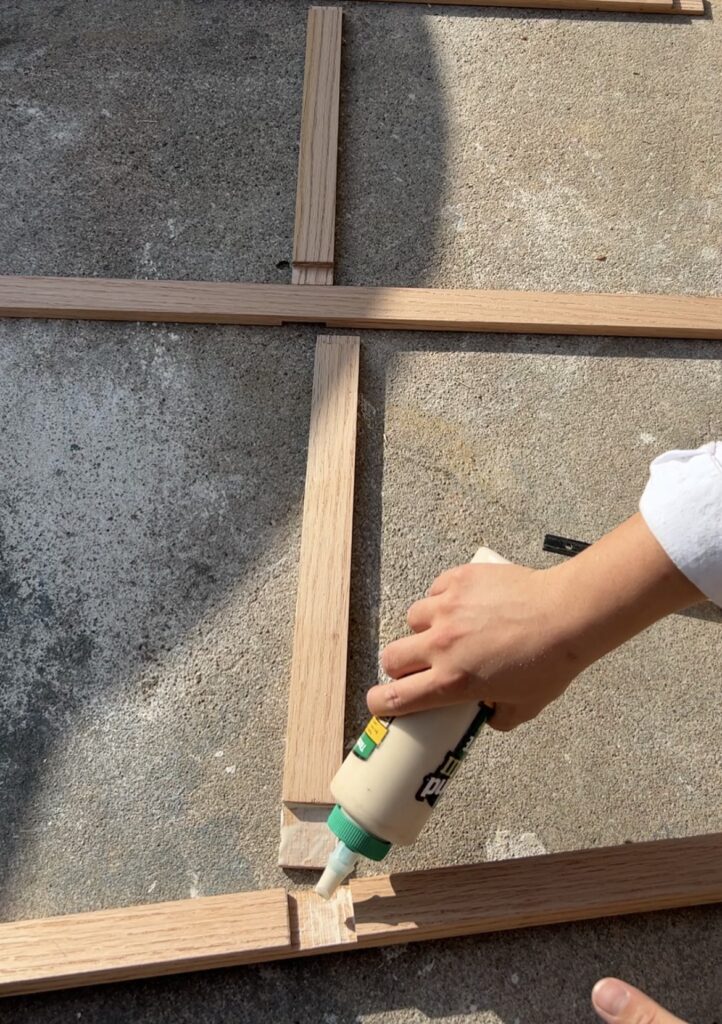
Step 3: Glue up time!
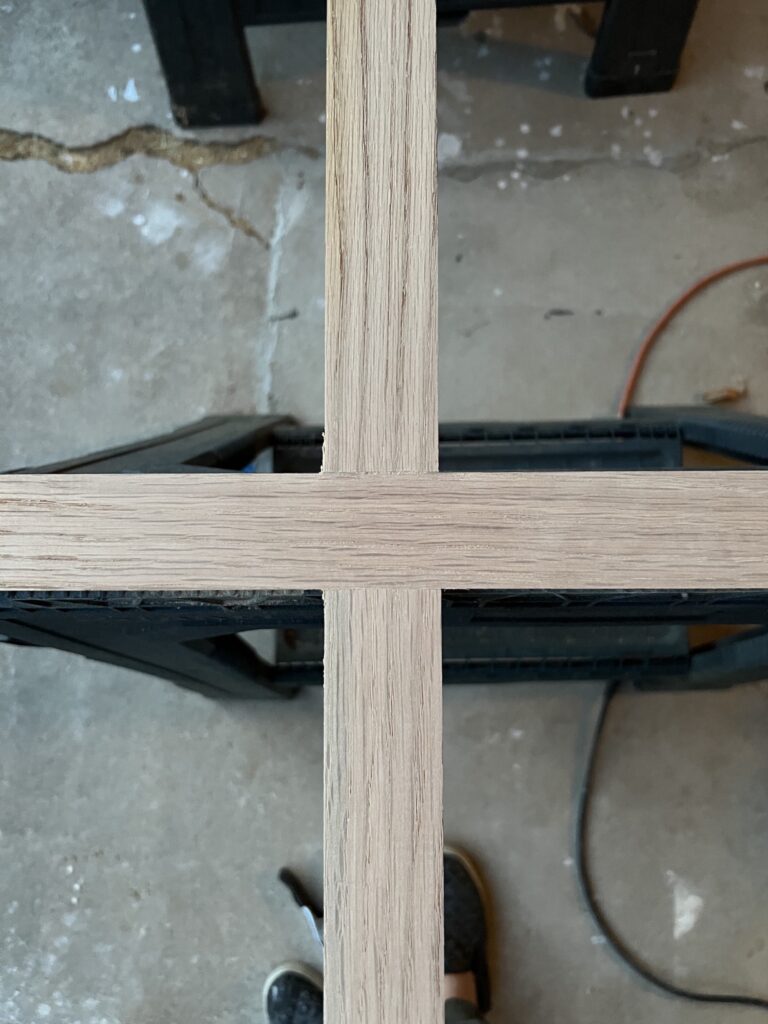
This step is pretty simple, just apply glue to the lap joints, and clamp together at the joints. Be sure to wipe off any excess glue before it hardens.
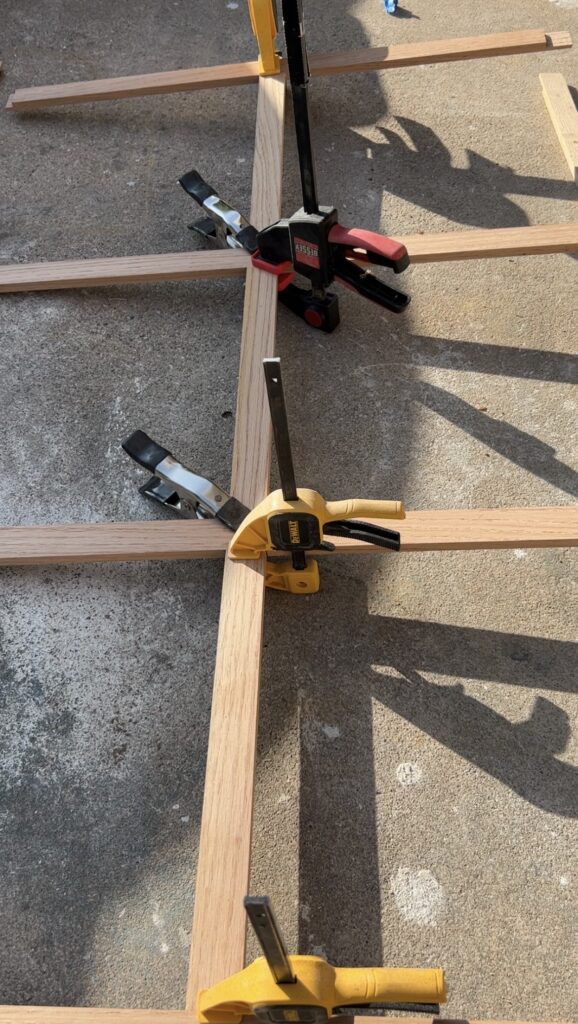
At this point the seams should be very small, however to fill any gaps, one trick I like to use is add wood glue to the seams and sanding it with 220 grit sandpaper while the glue is wet. The saw dust from the sanding will bond with the wood glue and fill any gaps providing you with perfect looking joints.
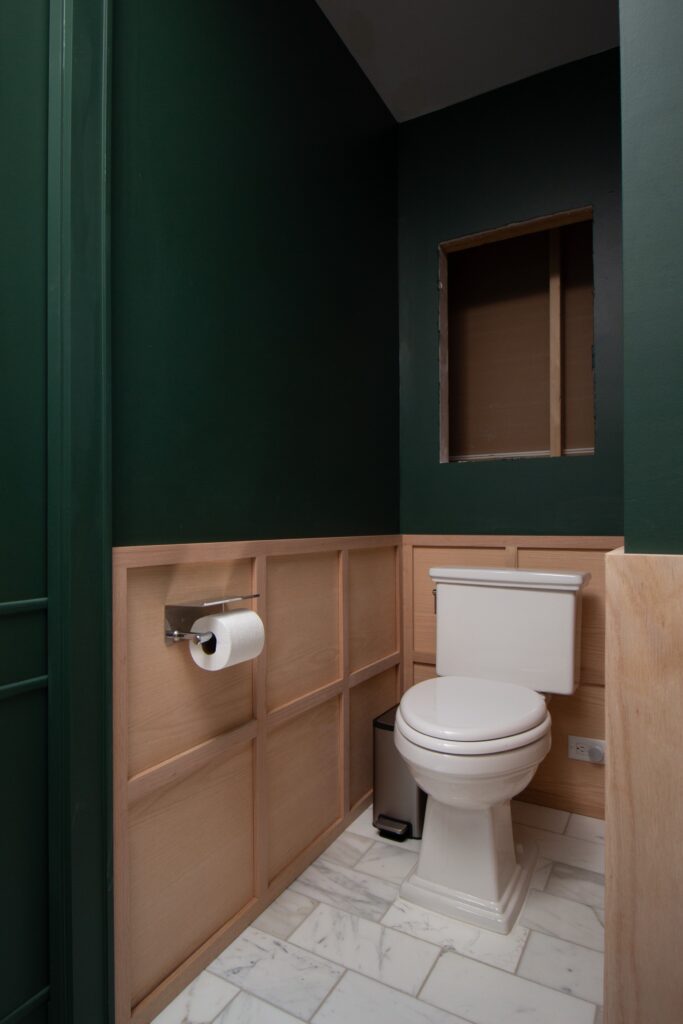
Step 4: Install Shaker Style Wood Paneling
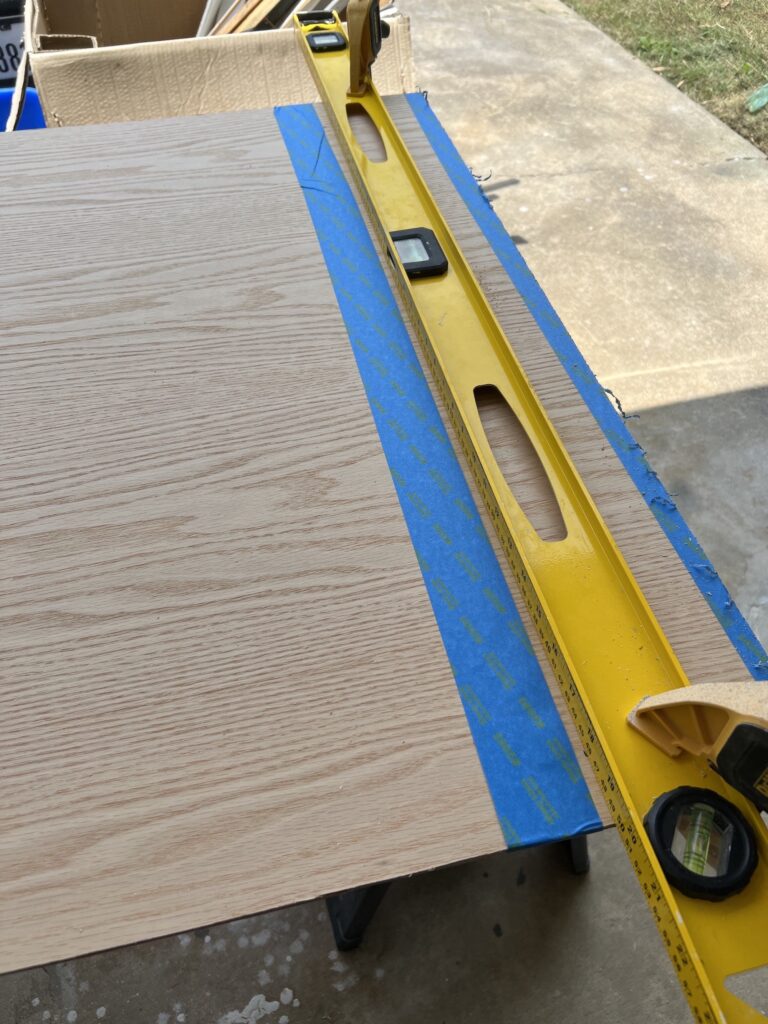
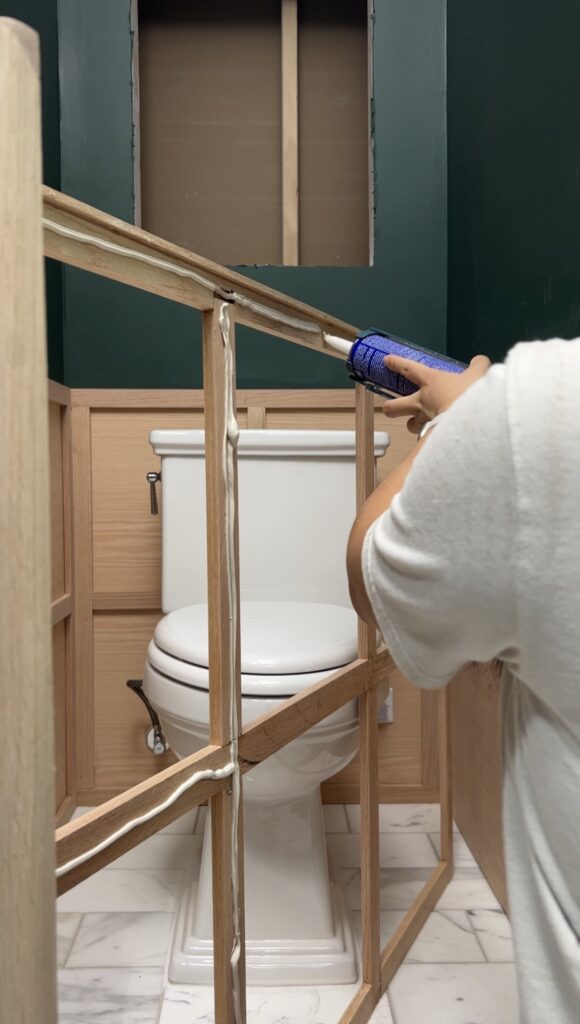
To secure the grid to the plywood, add liquid nails all along the back of the wood. Then carefully press it against the plywood, using a level to make sure everything is level. Keep an eye out for the liquid nails and remove any excess if it squeezes out from the sides. If you missed any, don’t fret, just use a razor blade to scrape off the excess as it becomes rubbery when partially dry, making it very easy to remove. I used scrap pieces of wood in between the walls to help apply pressure until the glue has dried.
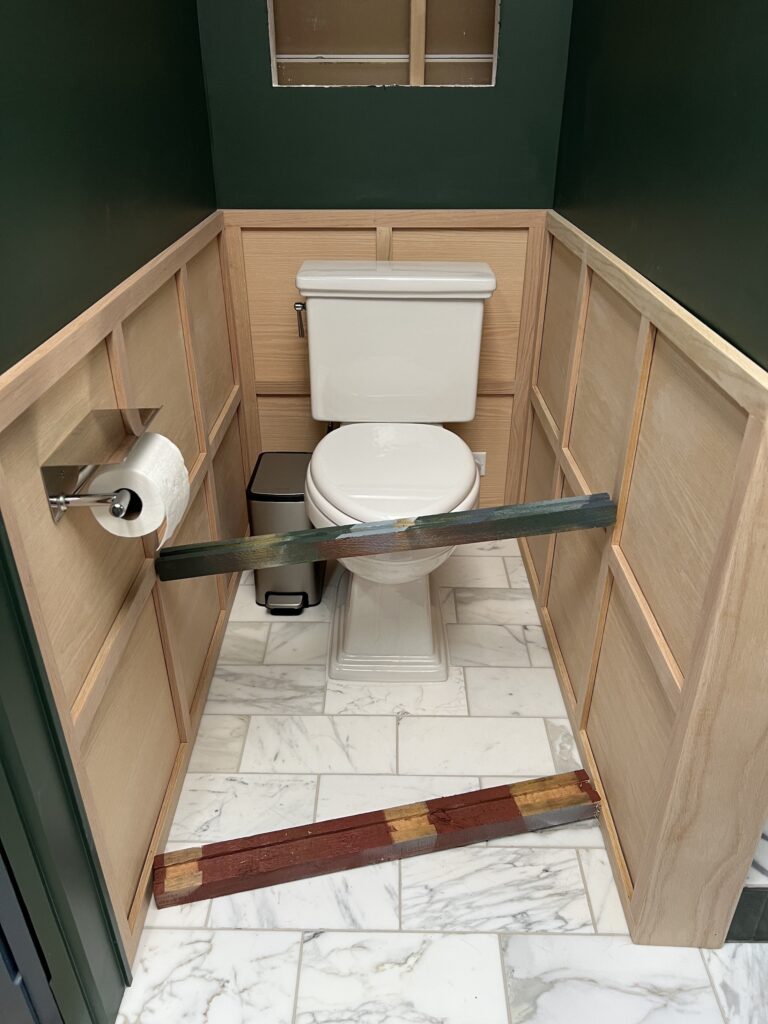
Step 5: To be continued….
Now that this part is done, i have to figure out the stain color, you can follow along on Instagram stories to see what color I decide to go with!


Cost Breakdown
| Material | Qty | Cost |
|---|---|---|
| 1/4″ red oak plywood | 2 | $70 |
| Red oak 1×2 | 3 pack of 4 8ft | $171.96 |
| Red oak 1×8 | 1 | $26.32 |
| Liquid nails | 2 | $7.16 |
| Wood glue | 1 | $9.98 |
| Shaker style wood paneling total | $286 |
Comment below if you have any question!


Thank you for this step by step guide! It is so helpful. I’ve always wondered how the old school craftsman did it!
Thanks for reading Shalonne, glad you found it helpful!!
What were those cool corner clamps?
Hi Christen! I assume you are talking about the corner clamps from my reel? If I think I know what you’re talking about you must mean the miter clamps! I updated my tools list above with a link to them, but otherwise you can search “miter clamps” on amazon 🙂