


Want a dartboard in your house but don’t want it to look like a frat house….? Same.
This DIY hidden dartboard looks like a piece of wall art, but opens up to reveal a full dartboard setup with built-in dart storage. It’s the perfect project for a game room, office, basement, or anywhere in the house really!
In this tutorial, I’ll show you exactly how to build a hidden dartboard cabinet with a chalkboard art front, step by step.

*this post contains affiliate links!*
Tools
- Miter saw or hand saw
- Drill + drill bits (7/64” for dart holes)
- Level
- Hammer
- Chisel
- Tape measure
- Stud finder (optional, but helpful)
- Sander or sanding block
- Vacuum or tack cloth
- Miter clamps
Materials
- Dartboard
- 24×36 1/4” cork board
- 1×2 oak boards (or similar)
- 1/4″ plywood
- 24×36 canvas art
- Chalkboard vinyl
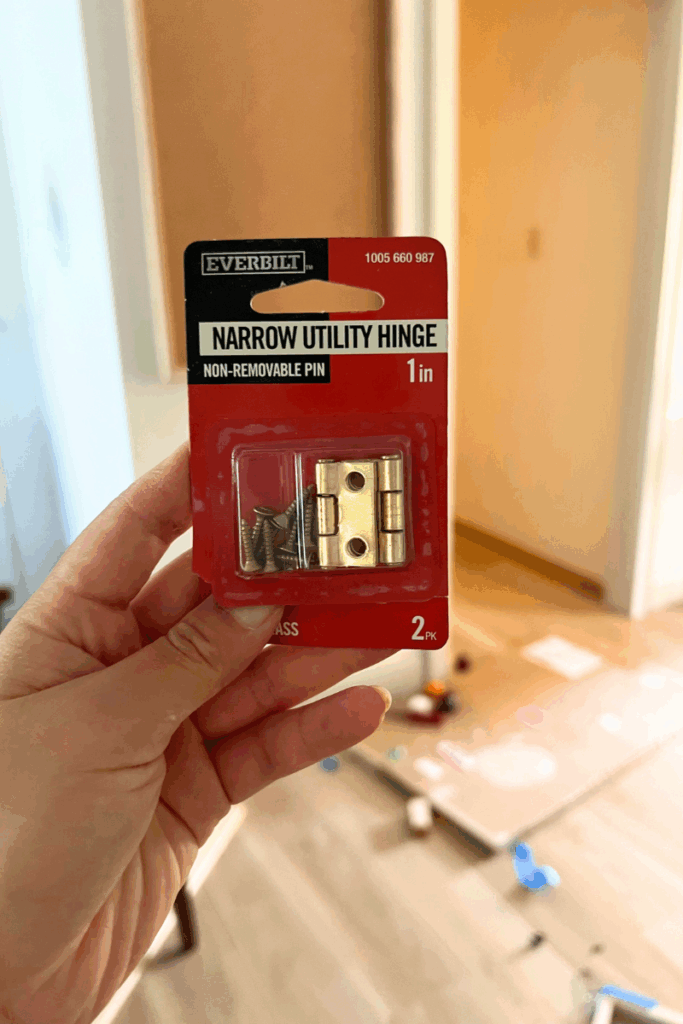
- 1″ hinges
- keyhole hanger
- magnetic latch
- 3/4″ brad nails
- 1 1/4″ brad nails
- Drywall anchors + screws
- Wood glue
PART 1 — THE DARTBOARD FRAME
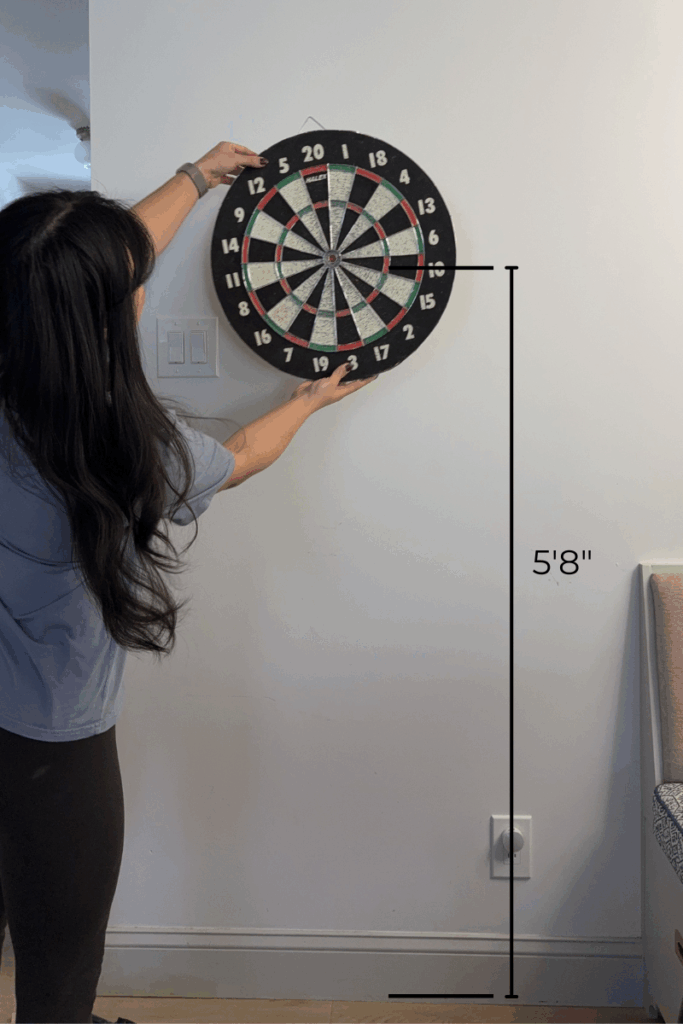
1. Add anchors
First, figure out how your dartboard hangs (keyholes in back, top hook, etc). Decide where it’s going on the wall and mark your anchor points and install the anchors. Regulation height for dartboards in 5’8″ from the floor to the bullseye so take that into account. The one I’m using is 18″x18″.
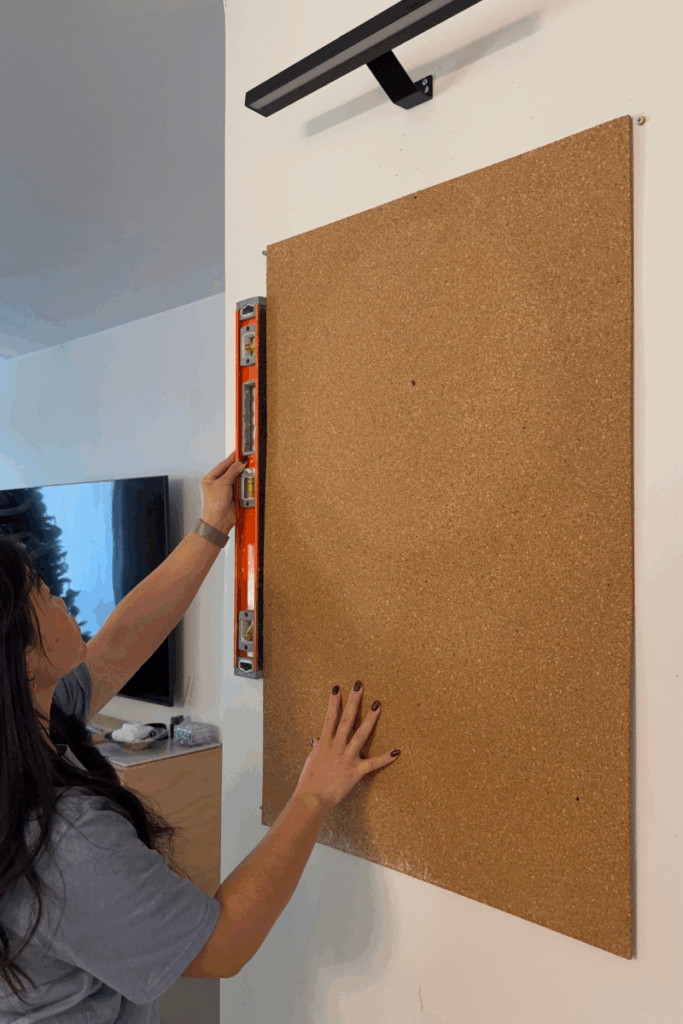
2. Install the cork board
I used a 1/4” cork board behind the dartboard to protect the wall. Secure it using double-sided tape and a few nails. I used carpet tape since it’s very thin and it has held up very well (however I have not tried to remove it so I’m not sure if it will damage your paint/drywall). Make sure it’s level before moving on. Make sure to note where your anchors are!
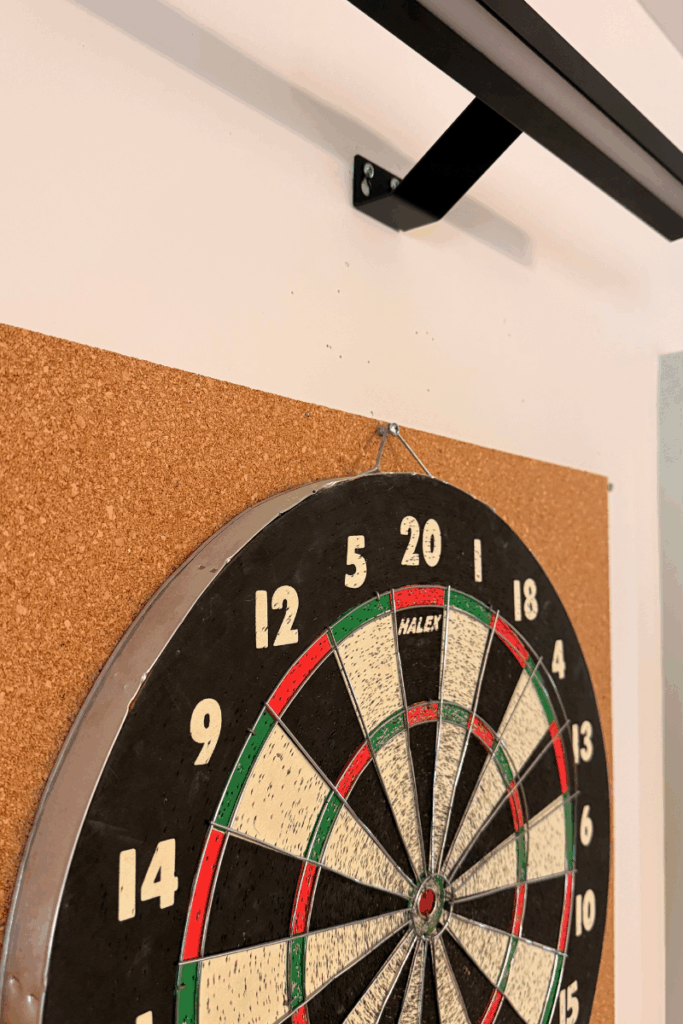
Once the cork board is secured to the wall, add screws to your anchors and hang the dartboard centered on the cork board.
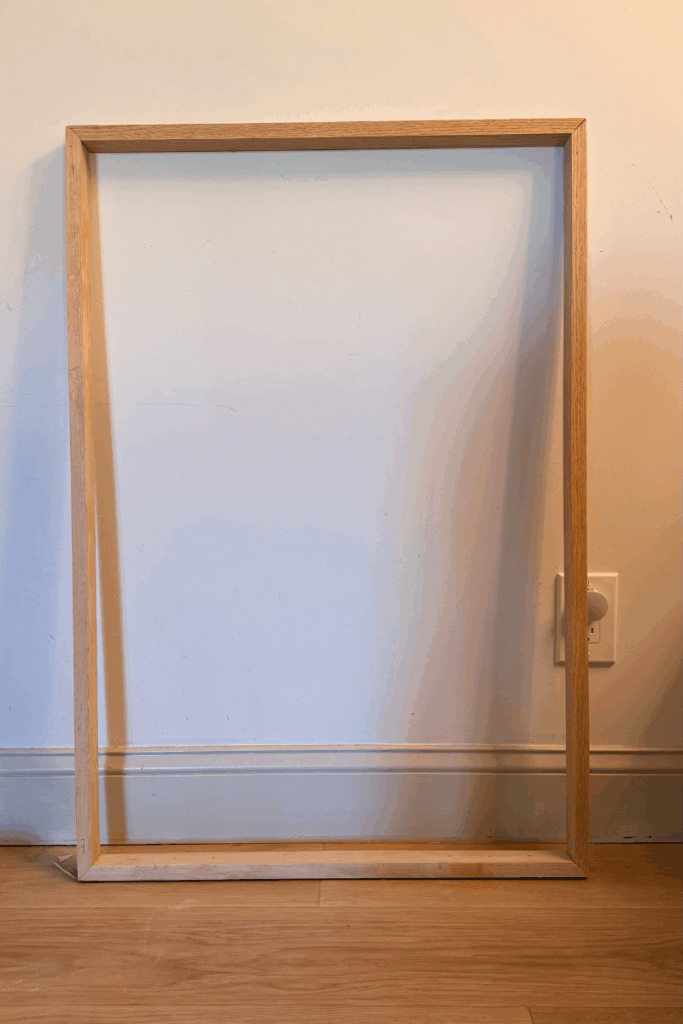
3. Build the frame box
Now we’re building the “cabinet” that goes around the dartboard. You can use select pine, pre-primed wood, or if you’re feeling fancy, solid oak wood. In this image, I am using 1×2 red oak found at Home Depot.
To determine the thickness of the frame, you need to account for thickness: cork board: 1/4″, dartboard: 1 1/4″. So the frame needs to be at least 1 1/2″. Luckily I was able to use 1×2 oak board for this since the true size of a 1×2 is 3/4″ x 1 1/2″.
4. Cut and assemble the frame
My cork board is 24×36 so the inside dimension of my frame should be 24×36. I use all corners at 45° using the miter saw, if you don’t have a mister saw, you can use this. Then assemble using wood glue and nails. If you have miter clamps, they will really make this process a lot easier.
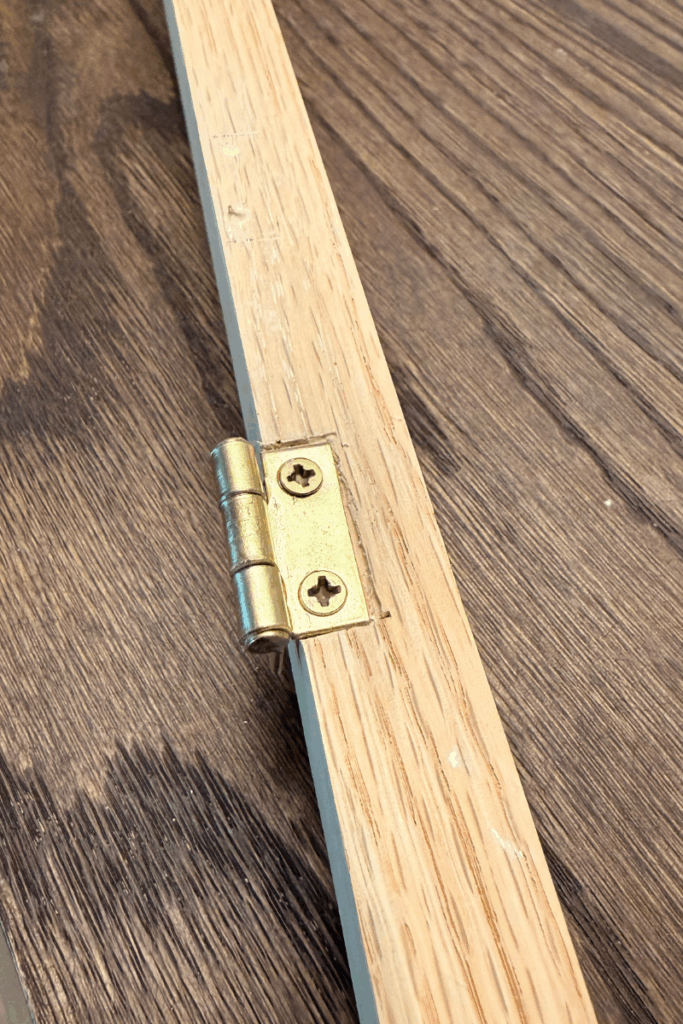
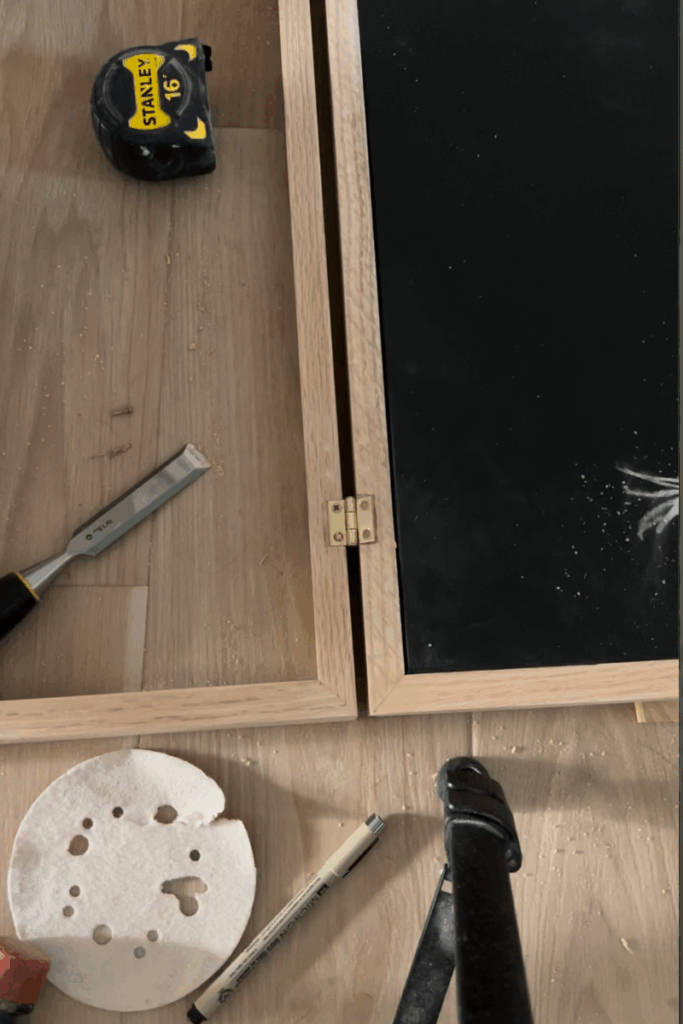
5. Add the hinges
Once the glue has dried, add hinges to the frame. Make sure your hinges are narrower than your frame thickness. My frame is 3/4” thick and my hinges are 1/2” wide. I used a hammer + chisel to recess the hinge so it sits flush.
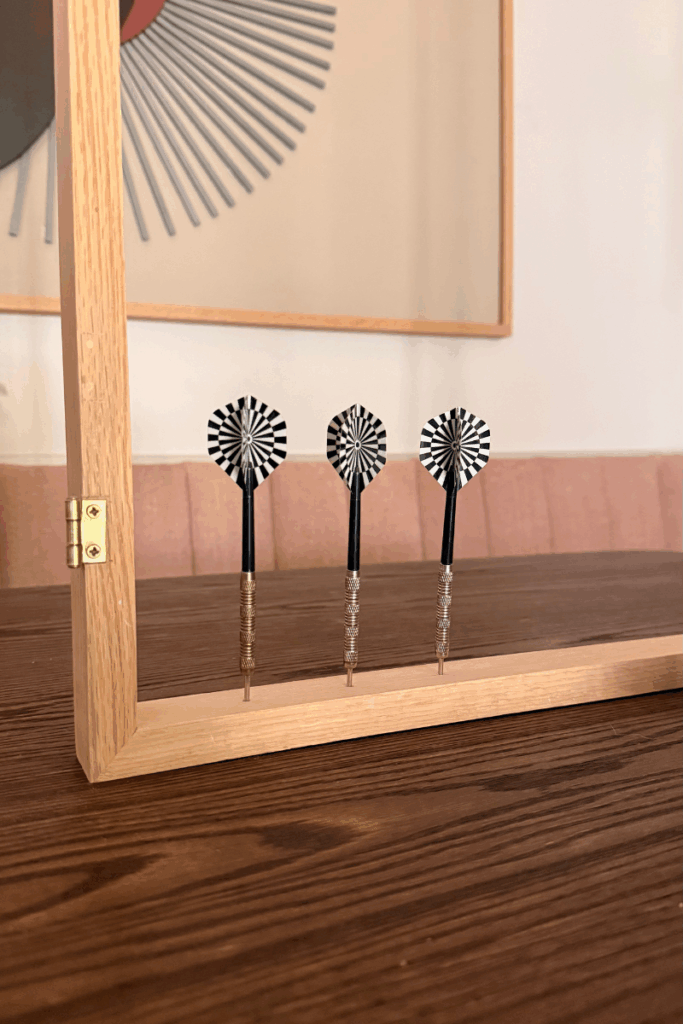
7. Drill dart storage holes
This step is optional, but I want to be able to store some darts in this cabinet. On the bottom edge of the frame I used a 7/64 drill bit and pre-drilled holes about 2″ apart. Don’t drill all the way through! Test with your actual darts to make sure they fit, if not, use a larger drill bit.

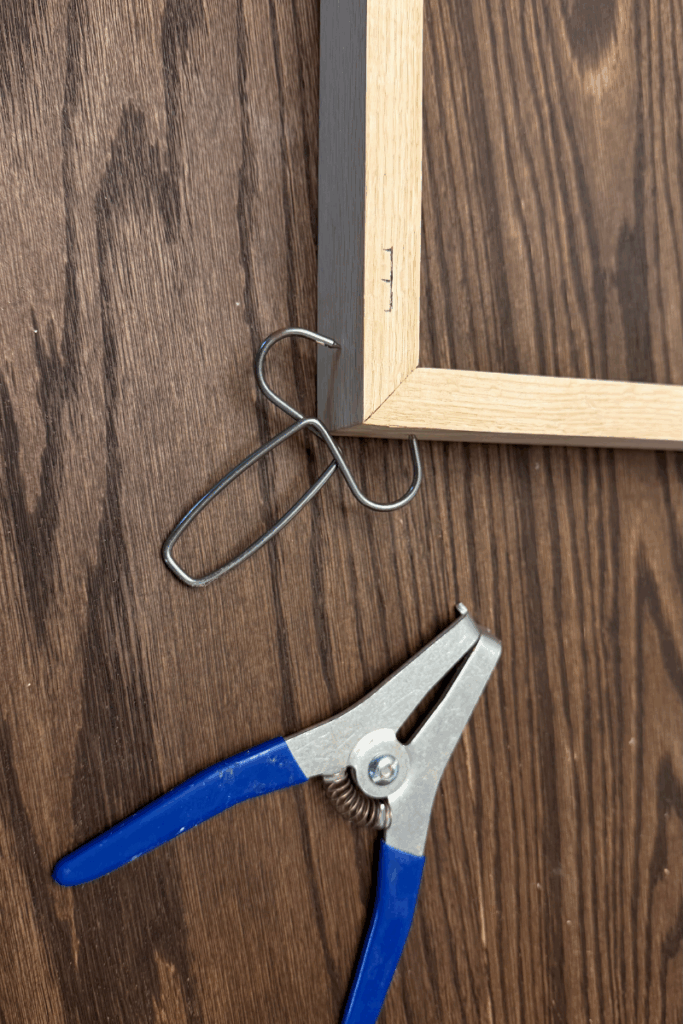
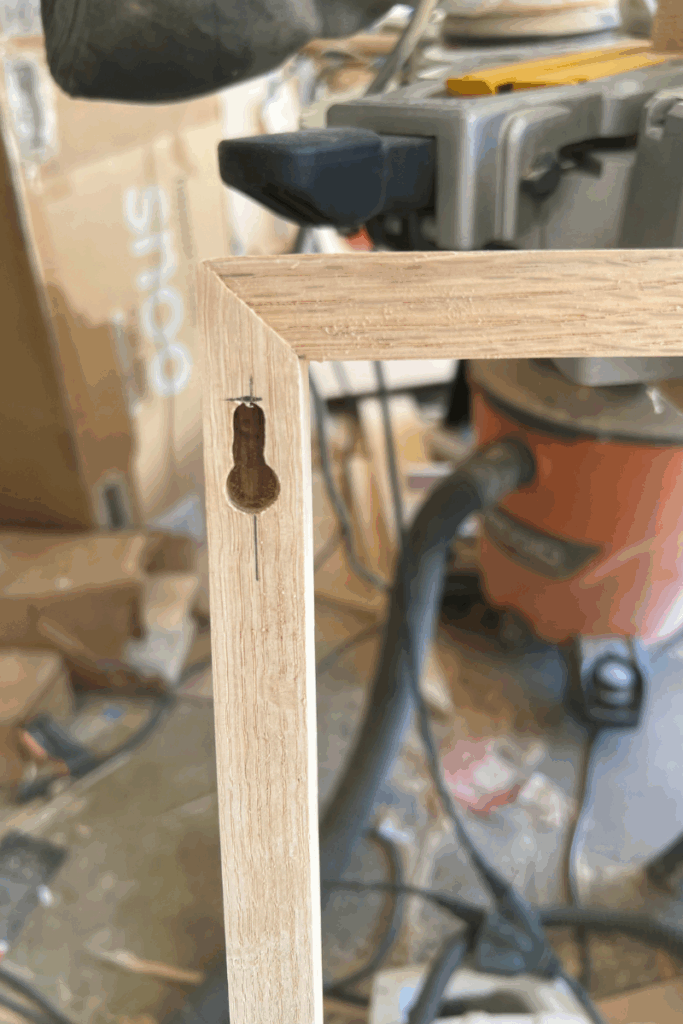
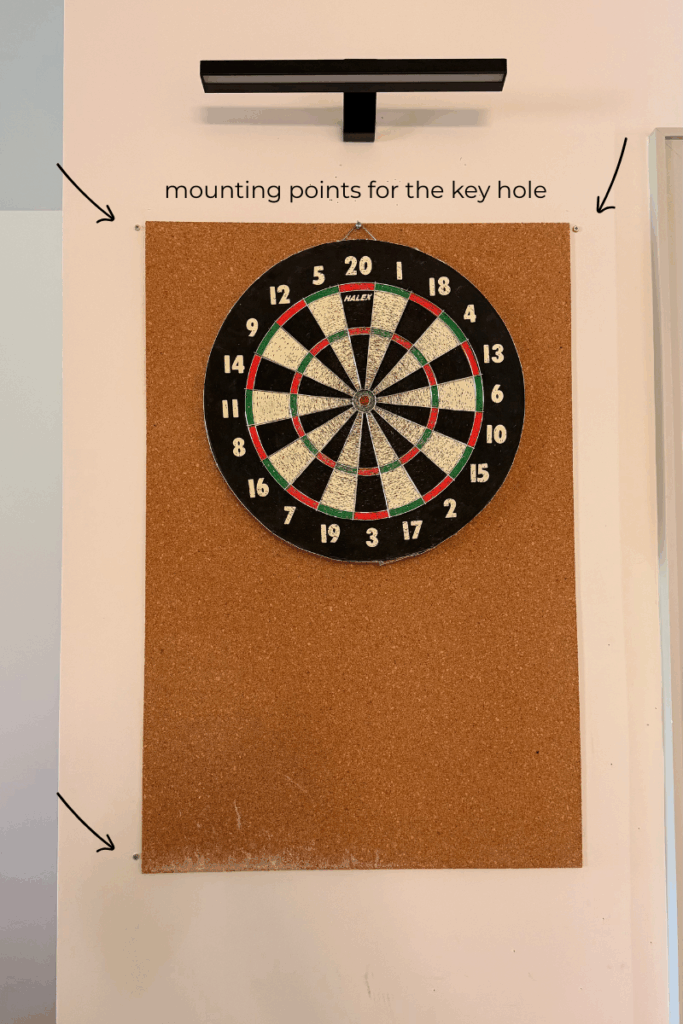
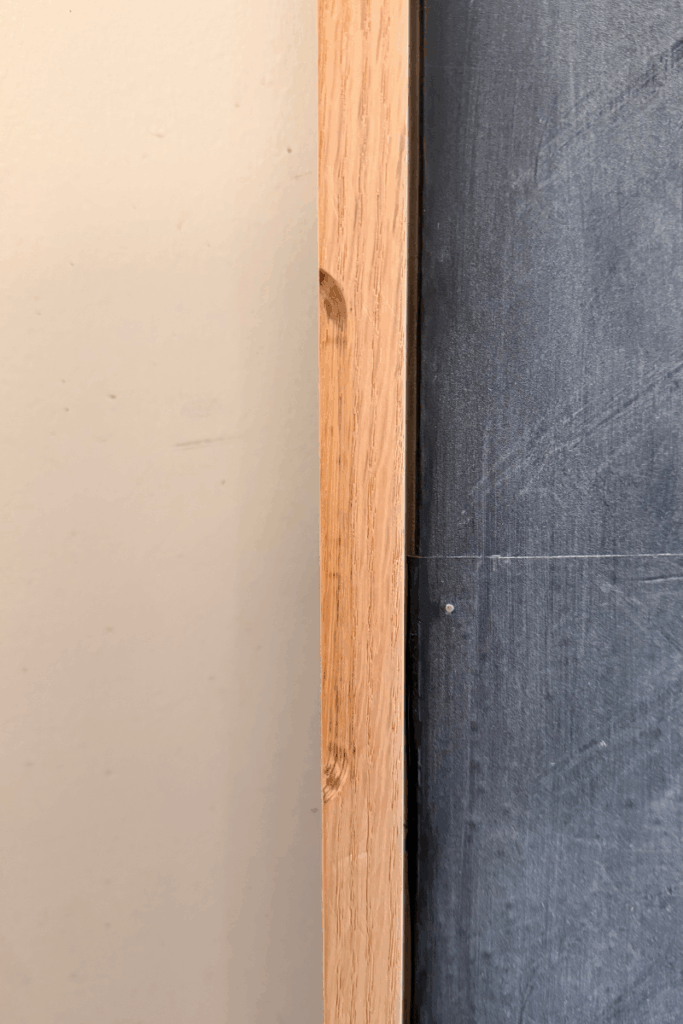
8. Add keyhole mounting
Now we are ready to hang the shadow box. You can use a keyhole hanger or a router with a keyhole bit. Add screws in the wall to match the keyholes (and use anchors if needed so the frame is secure) I ended up using 3 mounting points since one corner wasn’t sitting perfectly flush. If you’re using the keyhole, simply slide the frame into place.
PART 2 — THE CHALKBOARD ART FRONT
1. Find or Create Your Artwork
I thrifted a 24×36 canvas from Goodwill, but you could also use a store bought or custom canvas art.
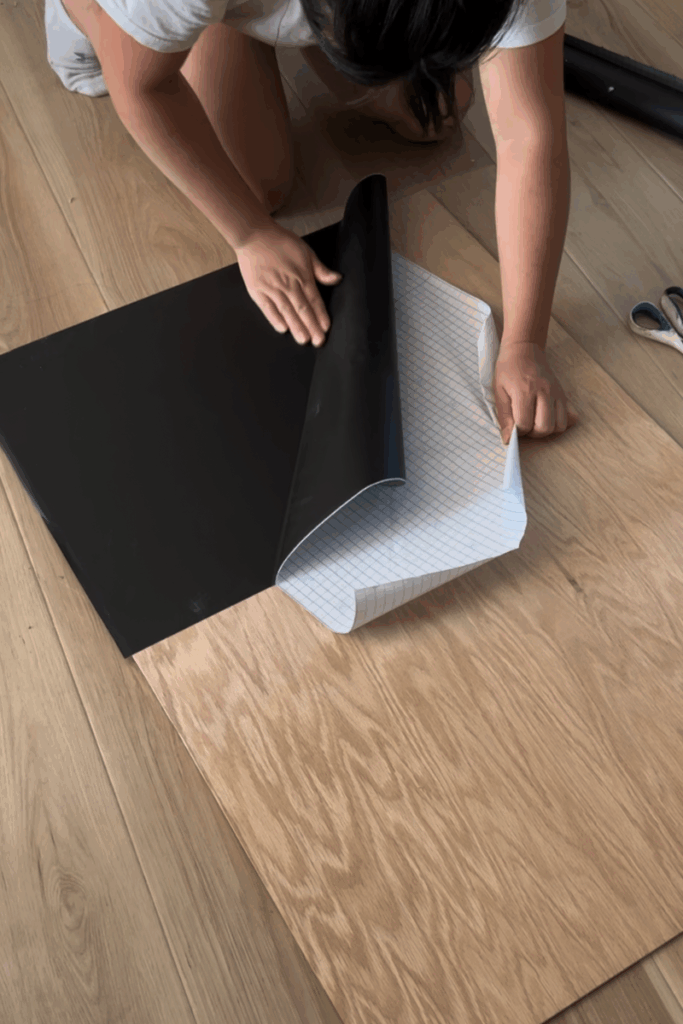
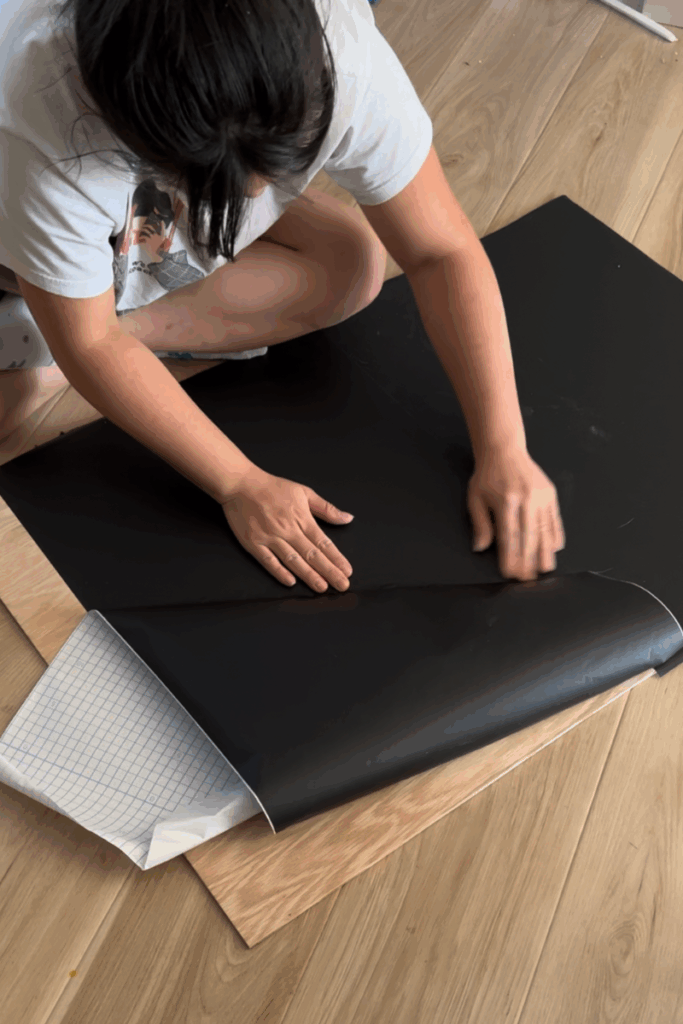
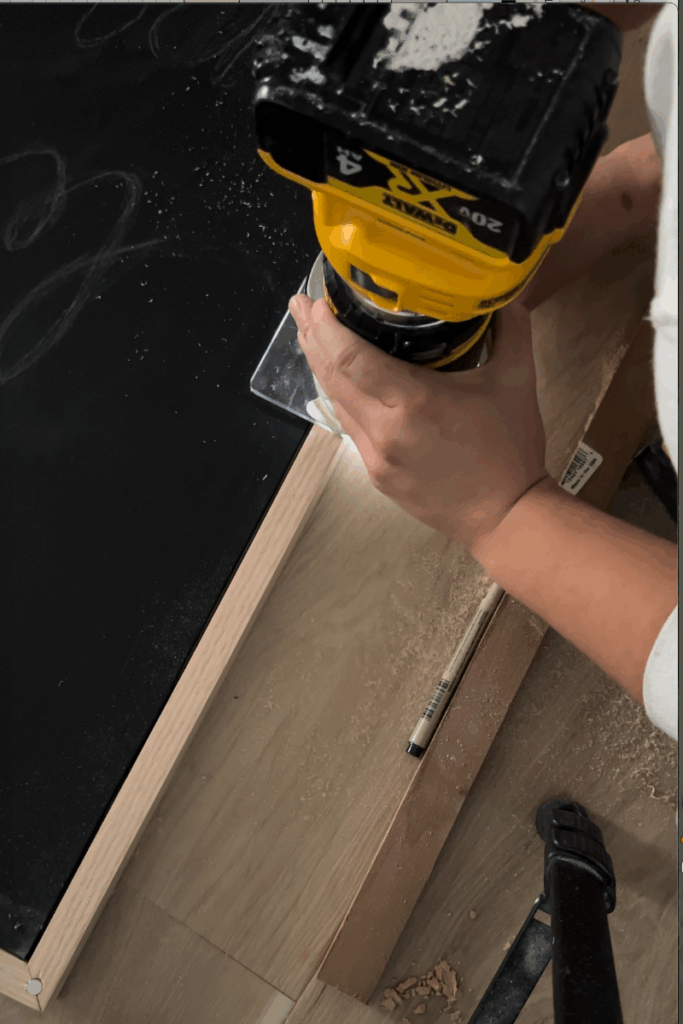
2. Make and attach the chalkboard backing
Cut a 1/4″ plywood to match the canvas size. Sand one side of the plywood smooth with 220 grit sandpaper, then vacuum and clean the plywood before applying the chalkboard paper on the smooth side. Nail the plywood to the back of the canvas using 3/4″ brad nails.
3. Build the front frame
Using the instructions from step 3 and 4 above, create another frame for the art. I ripped my 1×2 down to 1″ thickness for a slimmer look.
4. Add a finger groove to open the cabinet
I added a routed finger pull groove to the frame so the cabinet can be opened easily without adding visible hardware. I used a router with a 1/4″ radius cove bit to cut a shallow groove along the bottom edge of the frame. Then used a 220 grit sand paper to remove any roughness. This creates a clean, minimal built-in handle. It keeps the front looking like real wall art instead of a cabinet.
This allows you to open the frame easily!
5. Attach the art frame to the shadow box
Now we’re ready to hang the art. Mark where your hinges will go, and chisel the hinge recess to it sits flush. Insert your canvas art into the frame, it should be pretty snug. To secure it in place, you can add a few nails in the sides. I recommend at the top and bottom of the canvas so that they are not visible. If your frame is 3/4″, then the nails should be 1 1/4″ at least. Use a hammer and something like this should do the trick.
6. OPTIONAL: Add magnets
Since I’m writing this a few years after building it, I highly recommend adding some kind of closure hardware to keep the front panel securely closed. You can use something like this, but just make sure to recess it so everything sits flush and doesn’t interfere with the frame closing properly.
This keeps the art panel:
- From swinging open
- Properly aligned
- Feeling more like a real cabinet door
It’s a small upgrade that makes a big difference in daily use.
Final Result: A Hidden Dartboard That Looks Like Art
From the outside, it looks like a framed art piece. Open it up, and you’ve got a full dartboard cabinet with built-in storage. Now you can play in style!


Comments +