


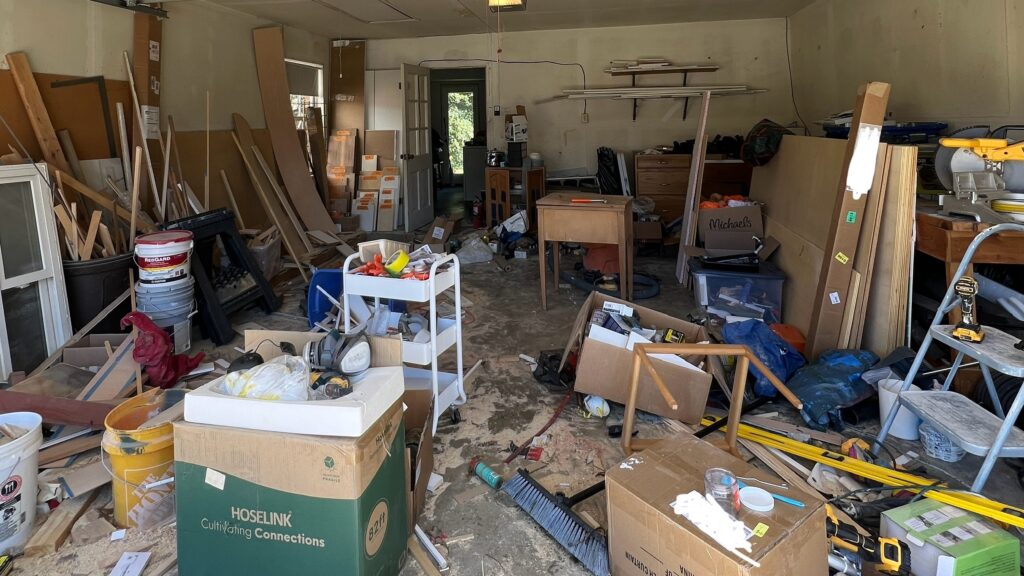
Is your garage feeling cluttered and disorganized? If you’re looking to create a functional workspace and storage solution without breaking the bank, join me in transforming my garage into a functional workspace. Over the last two years, after renovating the house room by room, we’ve accumulated so much stuff in the garage. We don’t have any proper counter height table to work on, or proper cabinets to store tools in, it’s a wonder how I got anything done. So for this year, before we get into any big projects, my goal was to declutter the garage and build/buy some storage solution – starting with a workbench cabinet.
Before we purchase anything, I wanted to see if I can build something with the things I already have. I had a few mismatch cabinets bases and a crazy idea to turn it into a workbench cabinet like this one. Can you believe cost of these workbench cabinets?
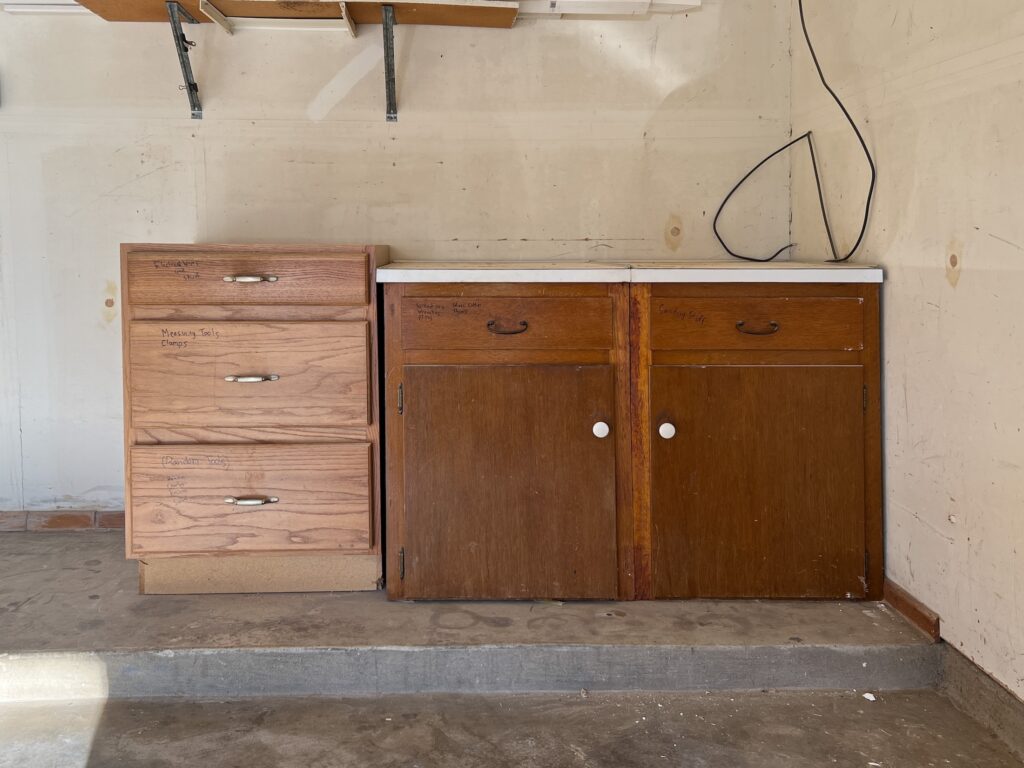
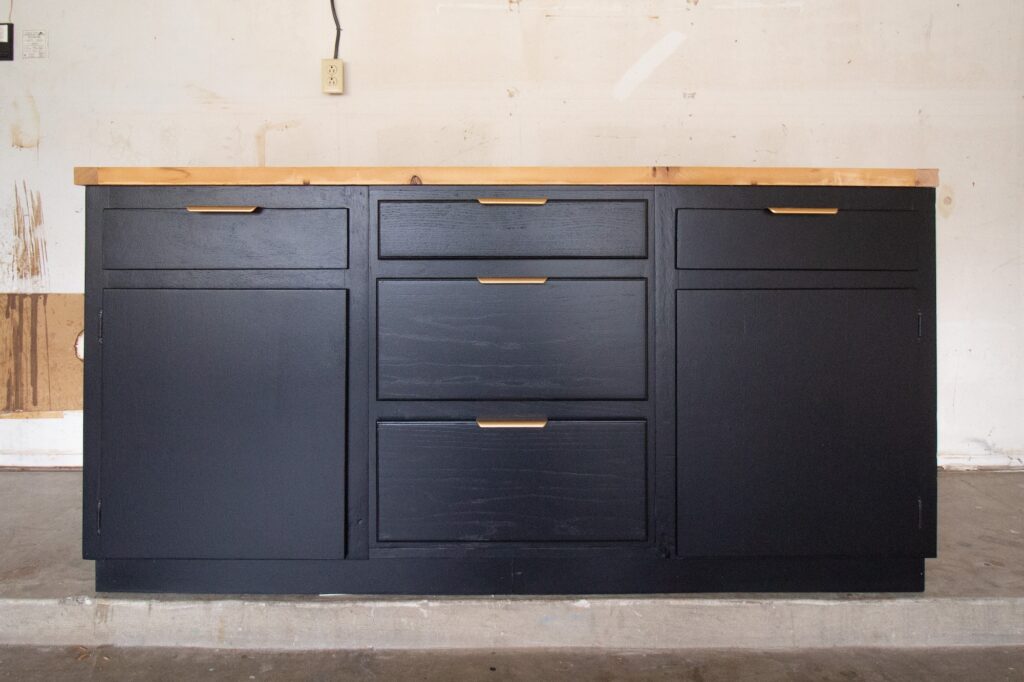
Anyways spoil alert – the final product came out even better than I imagined. In this tutorial, I detail the steps I took to turn these mix. matched cabinets into a workbench cabinet worthy of an instagram garage workshop 😉
Materials
- Cabinet Bases
- 2×4 lumber
- 2×6 lumber
- 1/4″ MDF
- 3″ construction screws
- 2″ construction screws
- Tack cloth
- Primer (Zinsser Bulls Eye 1-2-3 Primer)
- Furniture Paint
- Wood Glue
Tools
- Power Drill
- Circular Saw
- Sander
- Hammer
- Pocket Hole Jig
- Clamps
- Chisel
- Foam Roller
- Level
- Speed Square
Tutorial
Step 1: Assemble the workbench cabinet
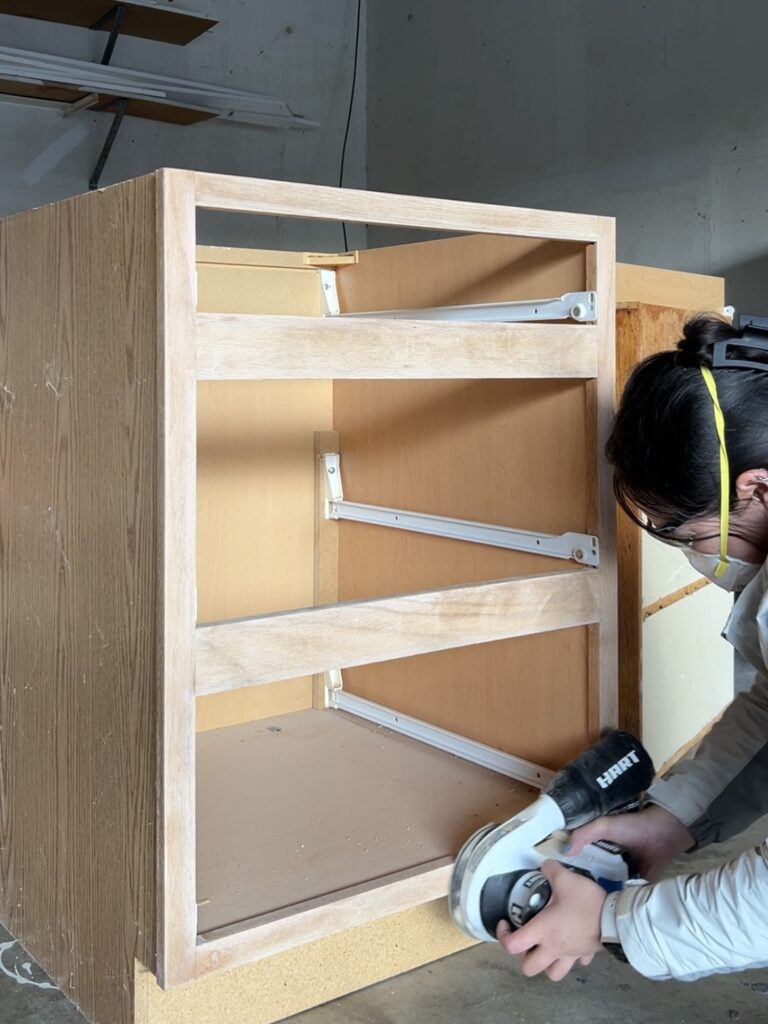
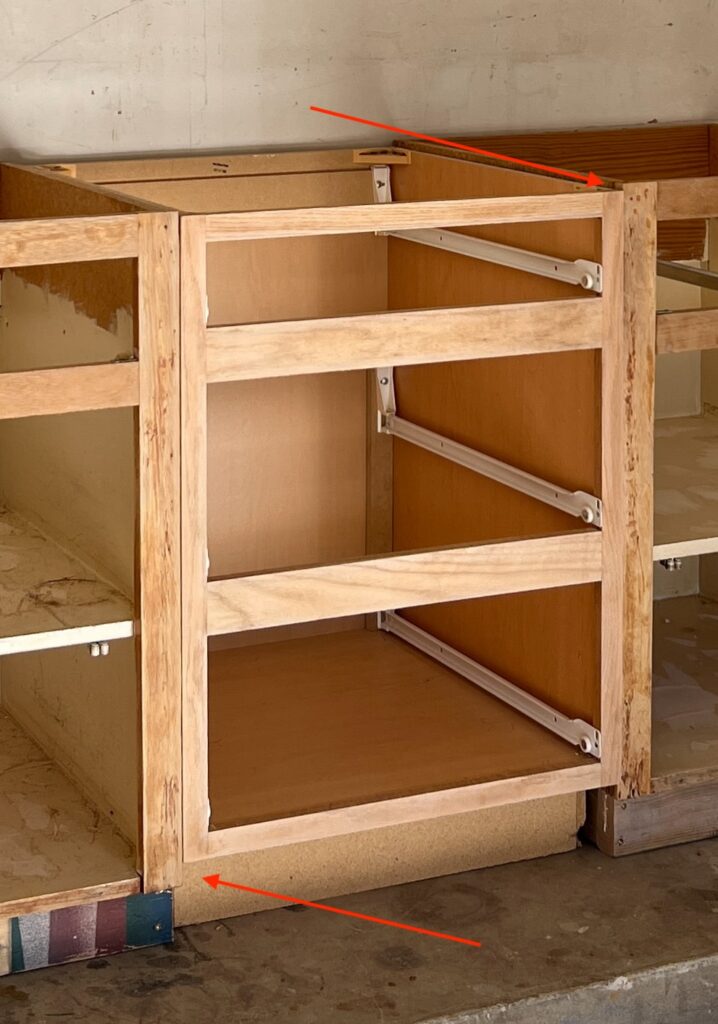
I started by removing the drawers and cabinet doors so that I could gave everything a nice sand starting with 80, 120, then 220 grit sand paper.
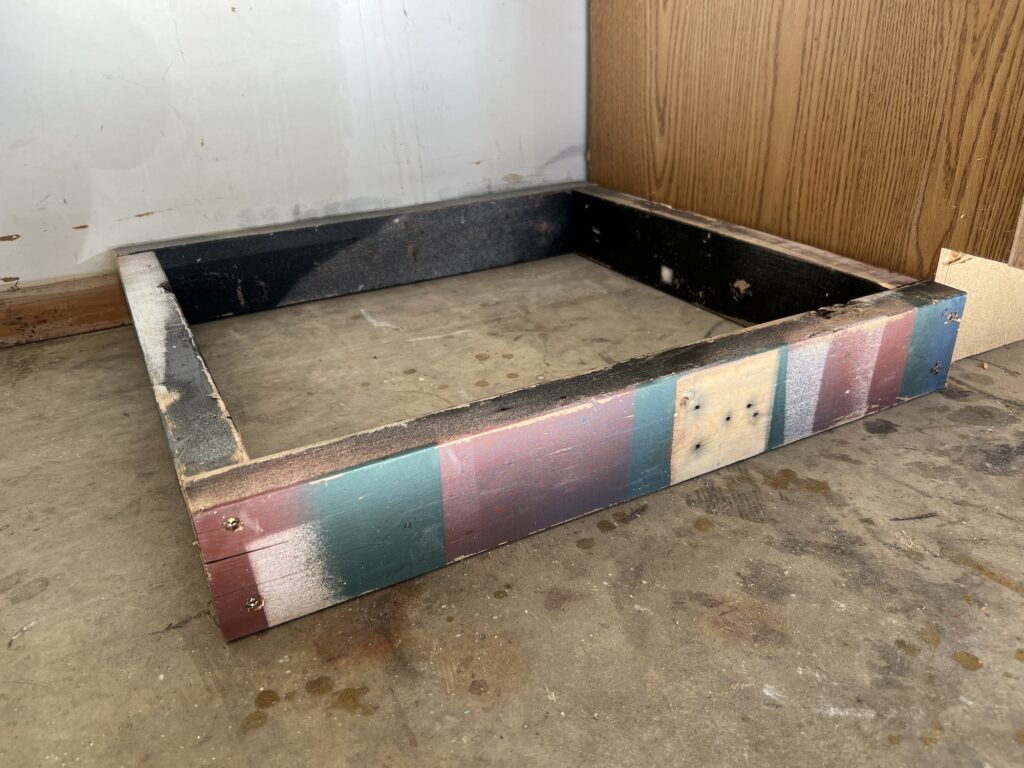
Two of the cabinets were shorter than the last cabinet so we built a base for the two shorter cabinets using 2×4. Since I am trying to reuse materials I already had, I am reusing some old 2×4 we had laying around – hence all the paint. I assembled the base using butt joints with 3″ construction screws, nothing fancy!
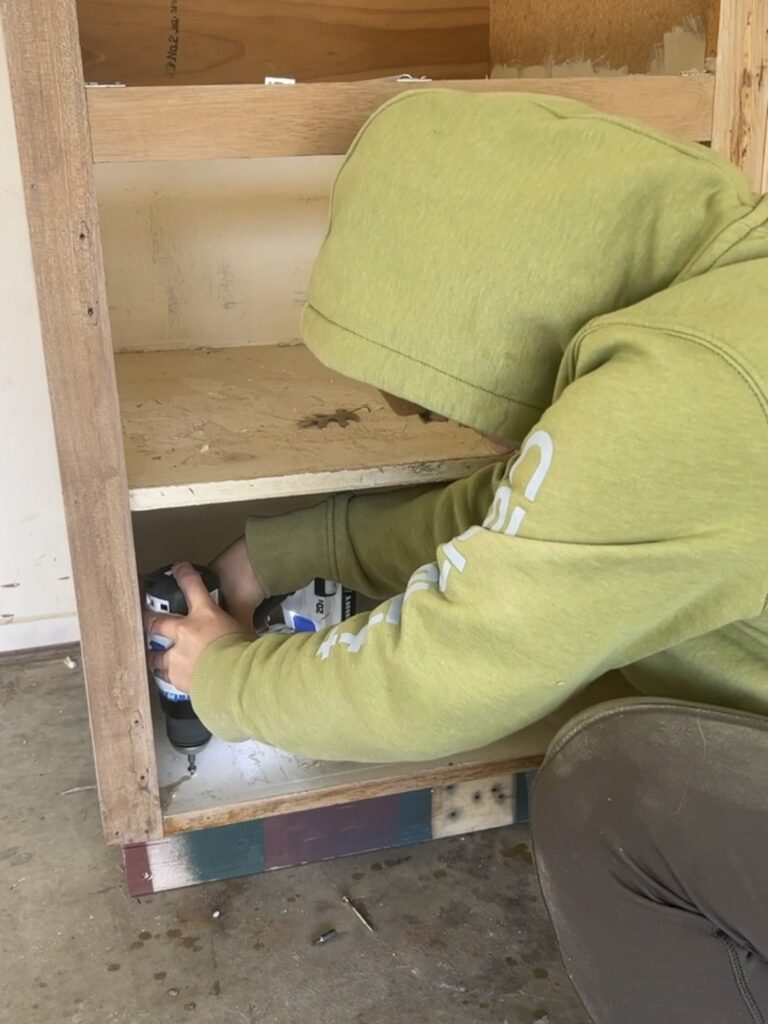
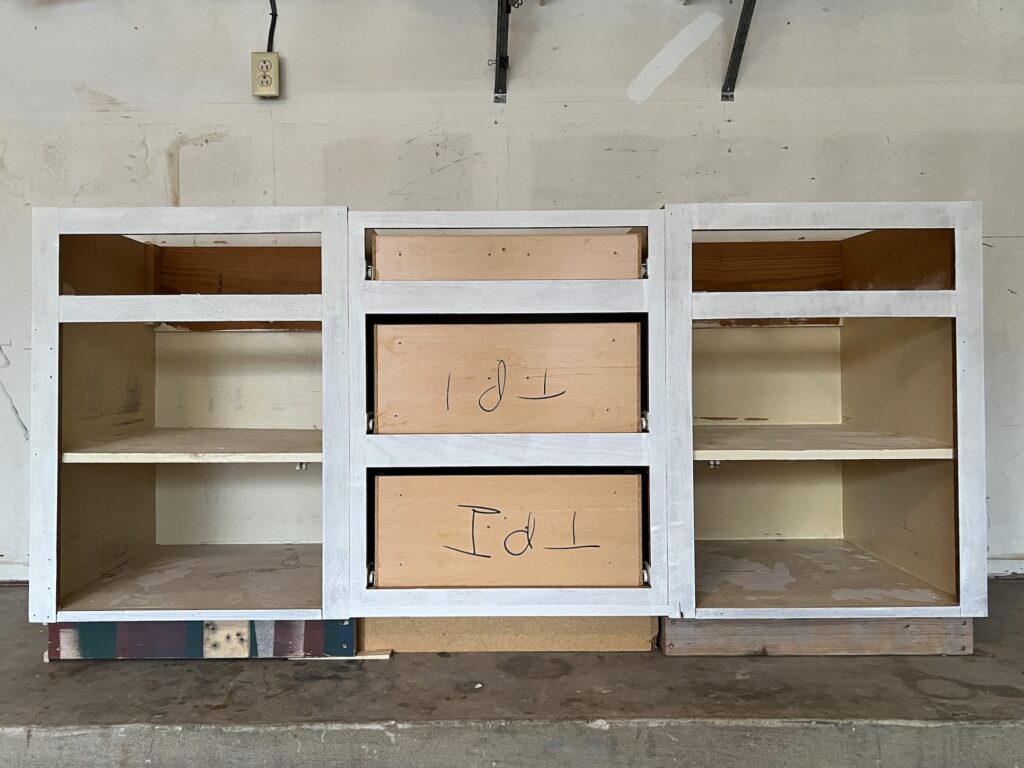
Once the base was built, I attached the cabinet to the base using 2″ screws and finally screwed all the cabinets together. How good does it look already?
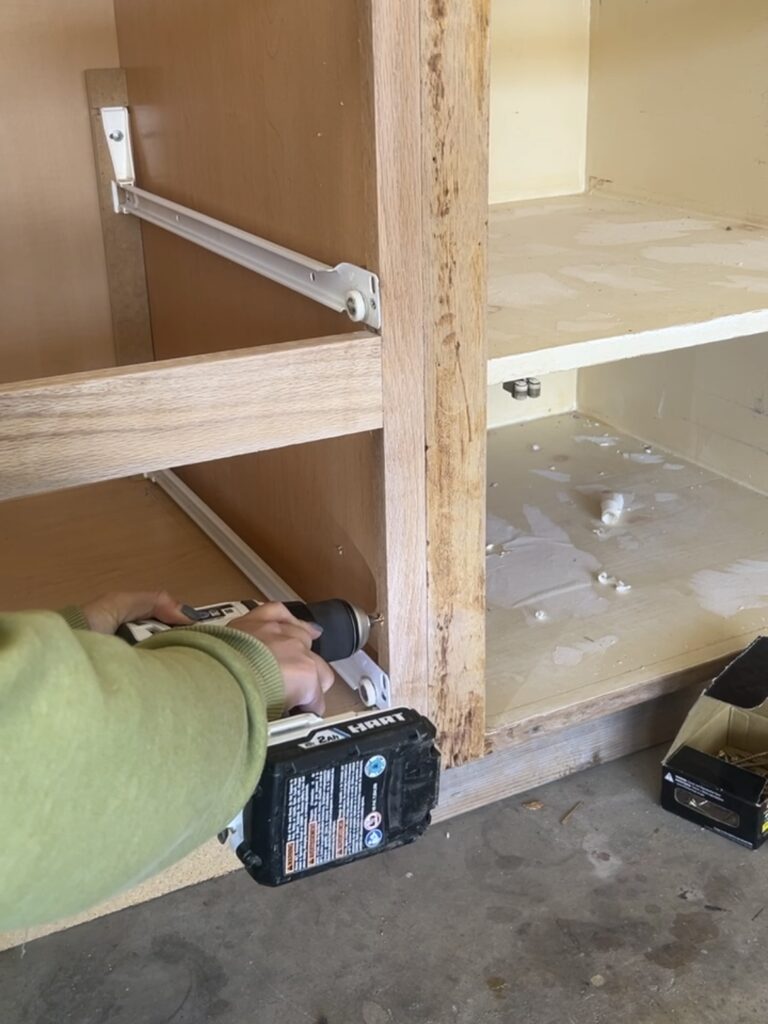
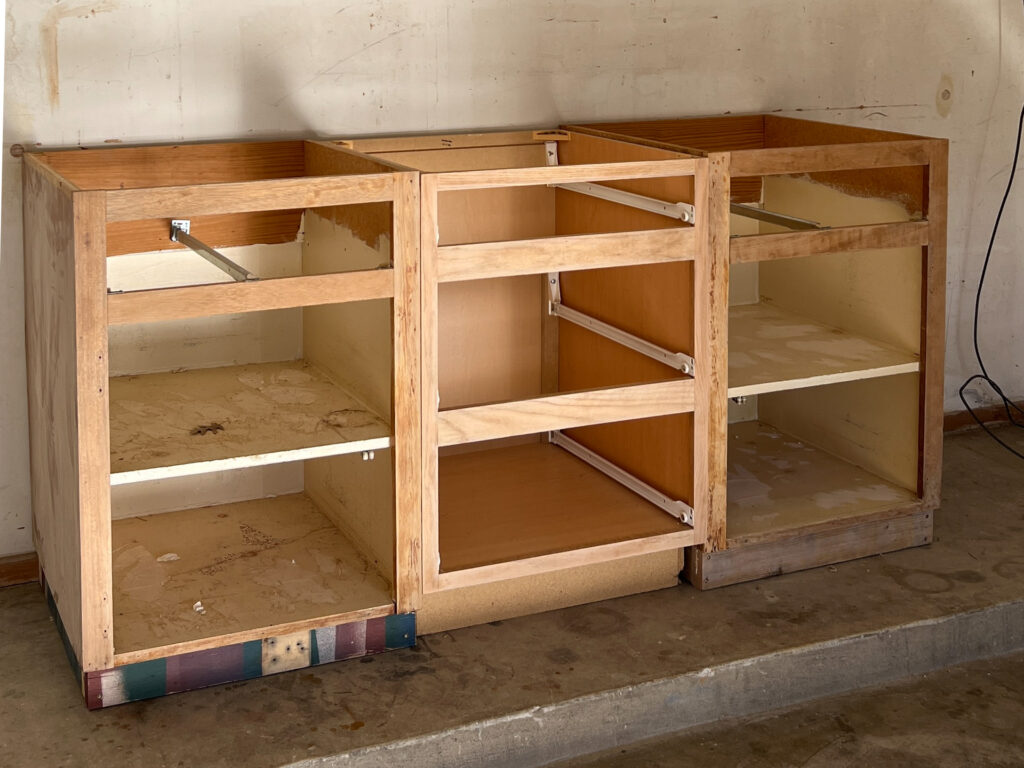
To help make the cabinet appear the same height, I had to add fillers to the middle cabinet. Luckily, I have a lot of scrap pieces of wood to pic from.
Step 2: Paint the workbench cabinet
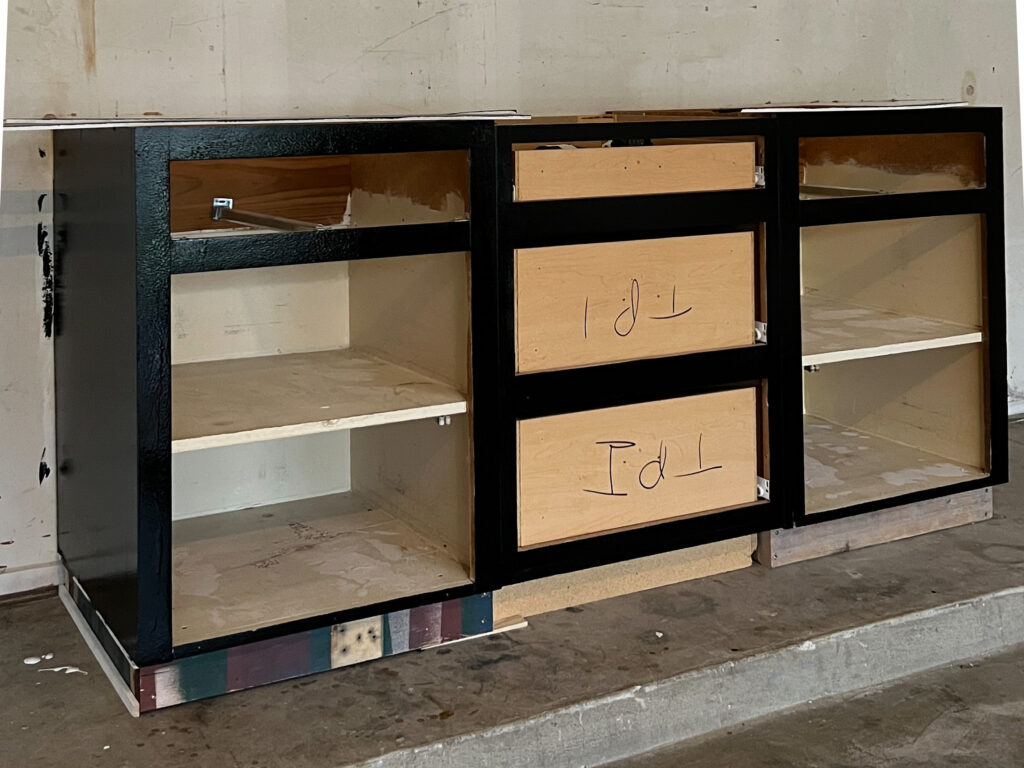
I vacuumed all the dust off the cabinets, wiped it down with a tack cloth. Next I added a layer of primer on the cabinets and cabinet fronts using a 3″ foam roller. Then I used whatever primer I had leftover, which was the Zinsser Bulls Eye 1-2-3 Primer.
I luckily had a small can of black furniture paint left and used that to paint the whole cabinet. I wanted to use furniture paint specifically because they usually have enamel in it to make the paint more durable.
Step 3: Prepping the countertop for the workbench cabinet
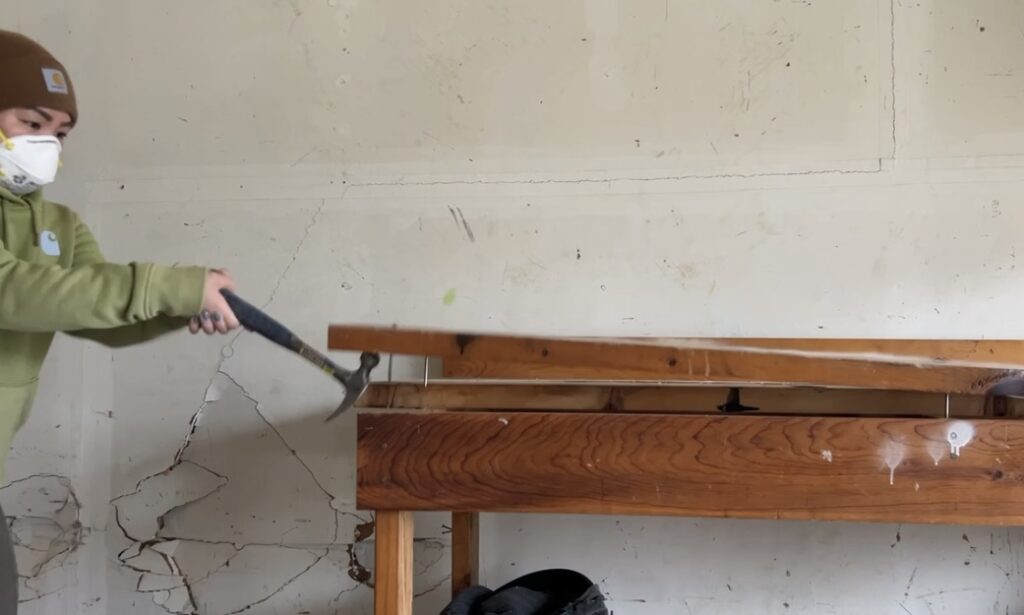
When we moved into the house 3 years ago, the previous owner left behind this old workbench. It was quite sturdy but not very functional as it was too tall and the top was uneven. Because of this I never used the workbench and it simply became a dumping ground.
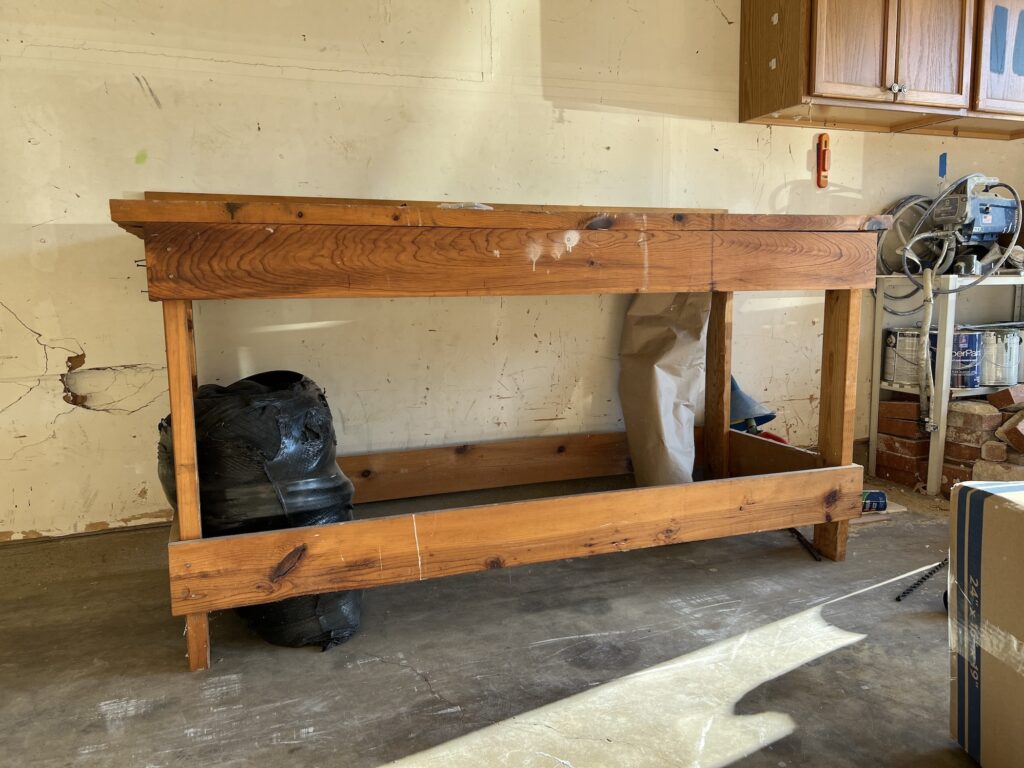
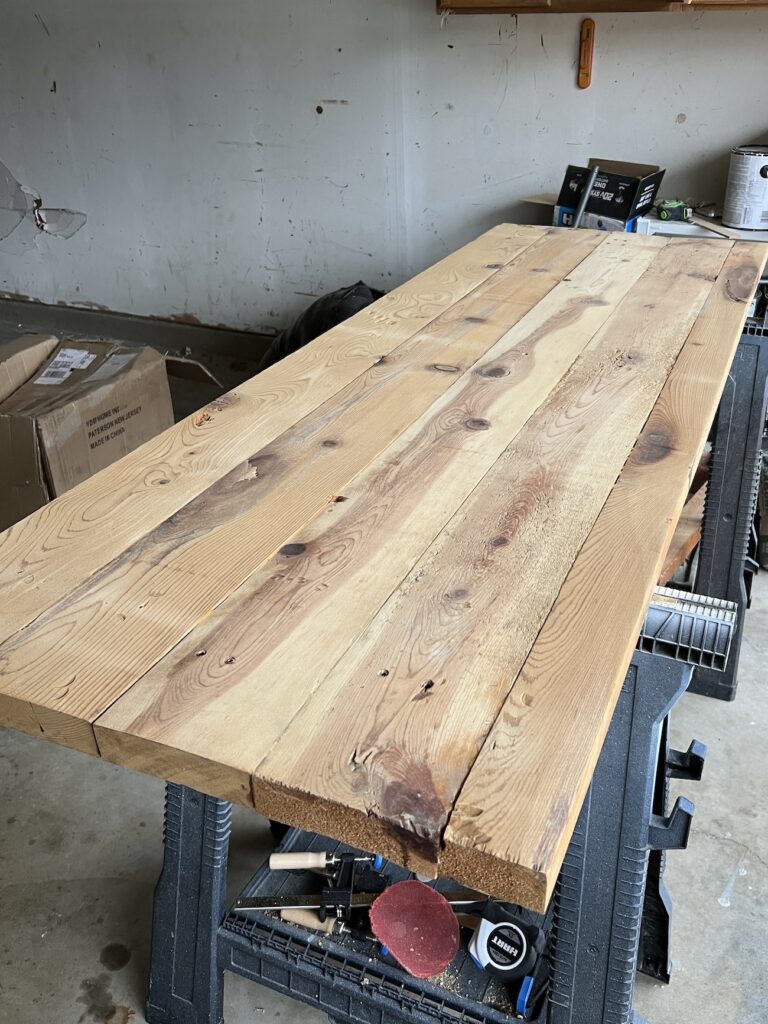
I didn’t want to toss the workbench since the wood was in decent shade (just needed a good sand). So I demo’ed the whole table and carefully removed all of the nails with a hammer.
After I removed all of the nails, I sanded each board down using 80 grit sandpaper. I labeled which side I wanted facing up. Then using a pocket hole jig, I drilled pocket holes every 12 inches on the side facing down. I am using pocket holes to join the pieces of board together to make one large counter.
Step 4: Building the countertop for the workbench cabinet
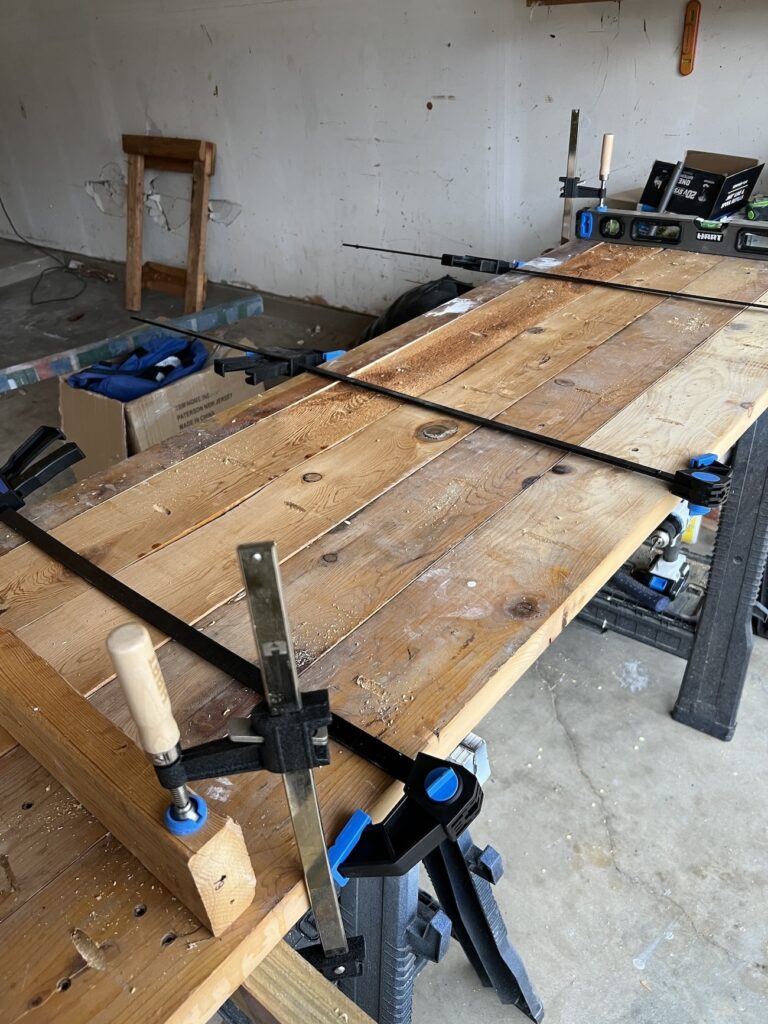
Once all the holes were drilled, I laid all the boards on its side. Then I applied a thin layer of wood glue to the connecting surfaces.
Then I pressed the boards together, using 3 bar clamps to secure the joints tightly. To ensure the countertop doesn’t bow, I sandwiched the countertop between two pieces of straight edge and clamped it all together. The straight edge should prevent the countertop from bowing as the wood dries. The total number of clamps I used here is 7, at a minimum, you should have 3 long clamps for this project, but the more the merrier.
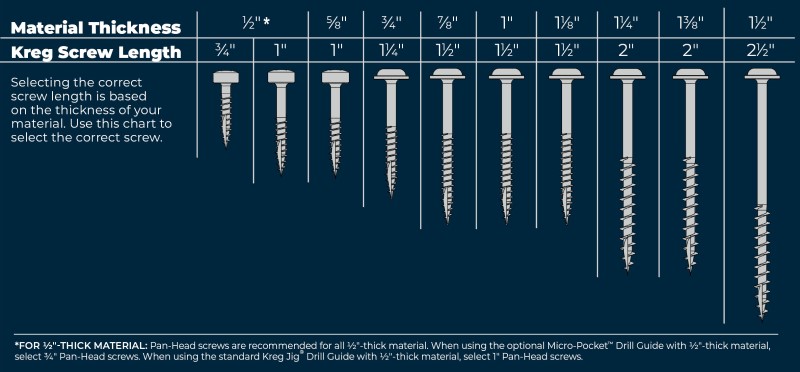
As the glue is drying, I added the wood screws. I used 2.5″ wood screws with a longer drill bit to allow it to be inserted at an angle. The length of the wood screw is determined by the thickness of the board you are securing together. You can view this cheatsheet for reference.
Once the glue has fully set, I remove the clamps and scrape off any remaining glue residue with a chisel.
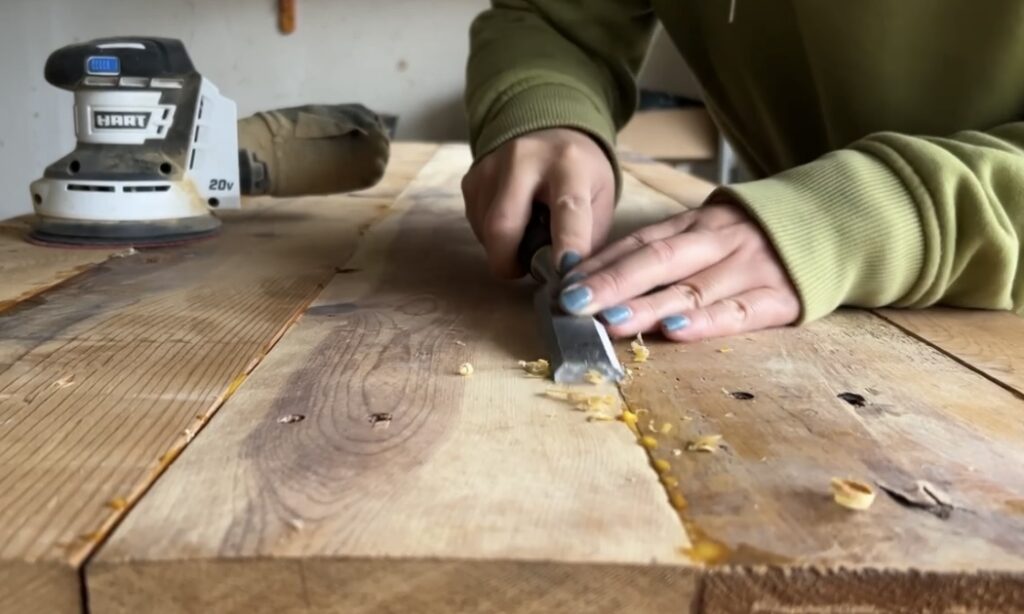
After removing all of the excess glue, I spent about 30 minutes sanding the top with 80 grit sandpaper. I’m not going to perfection but would like to get as smooth as possible.
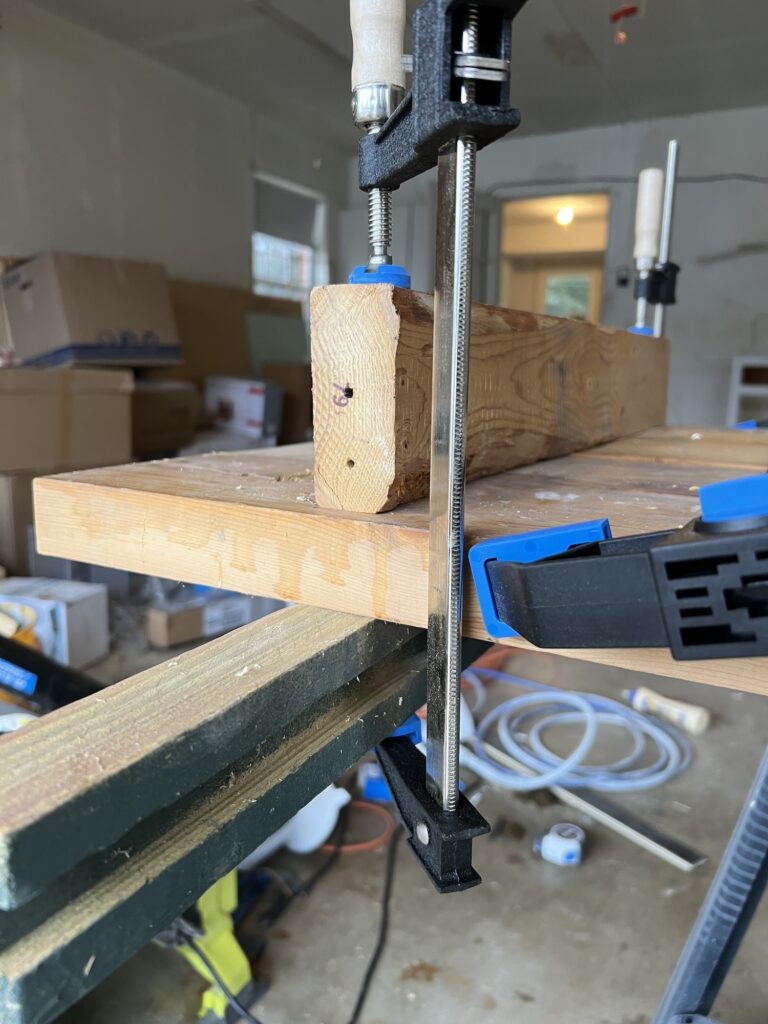
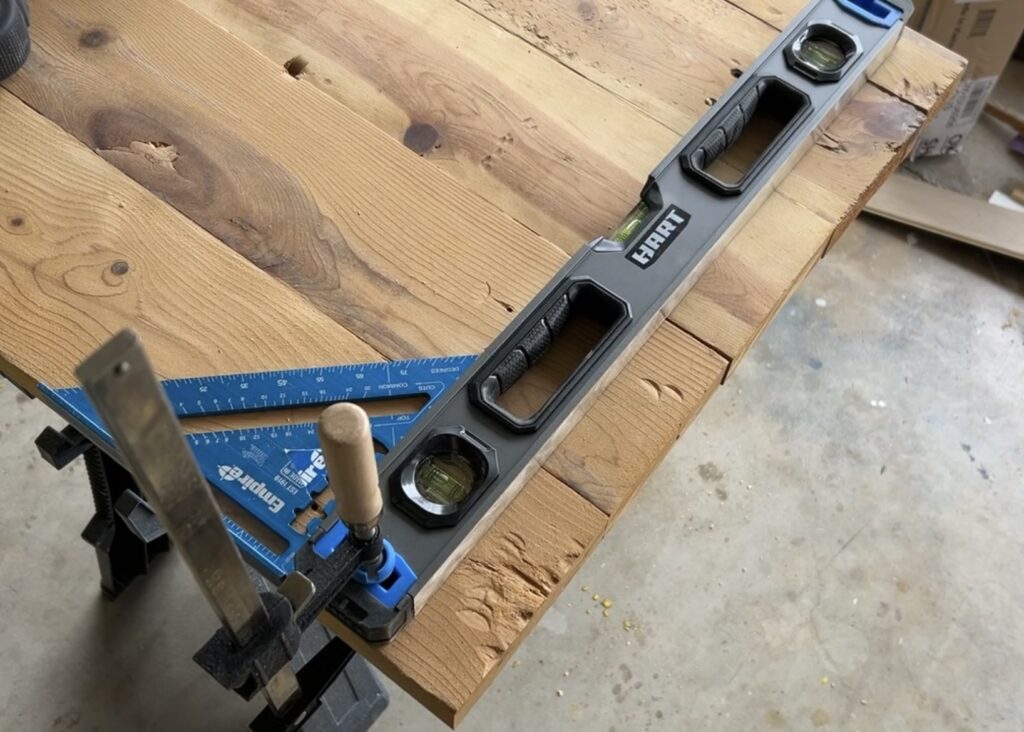
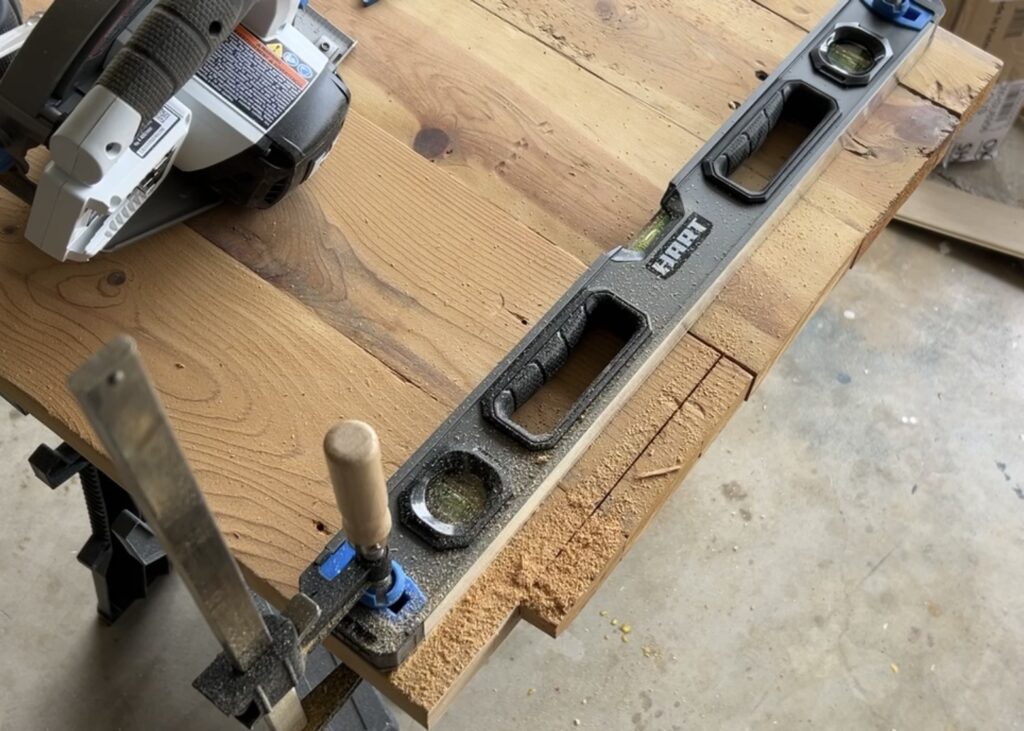
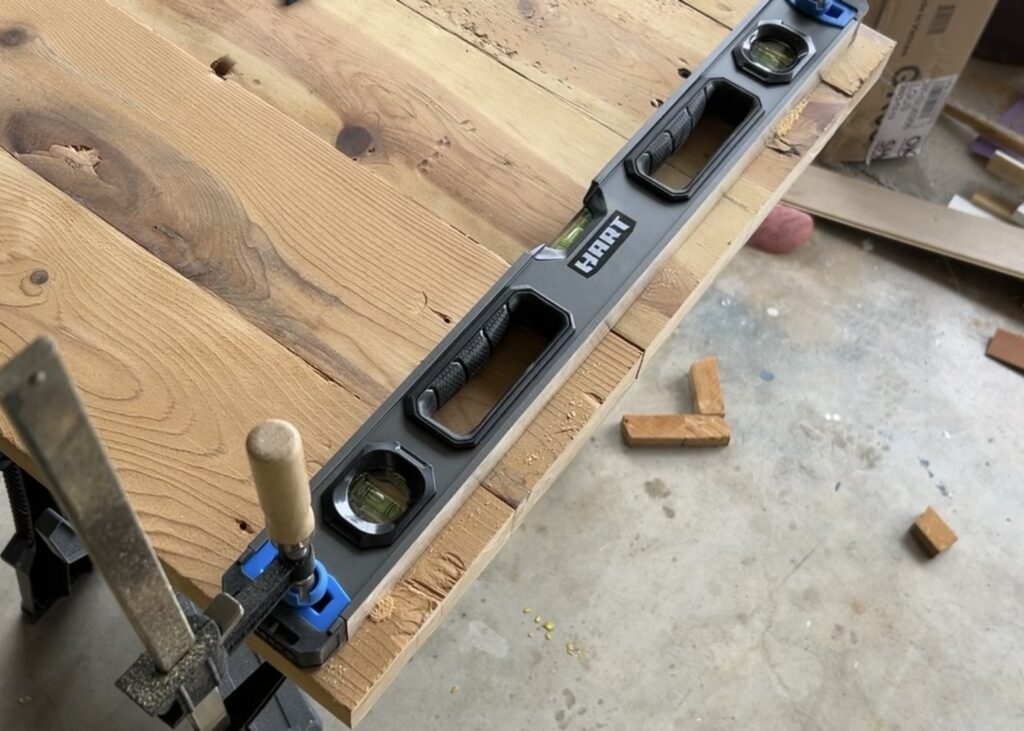
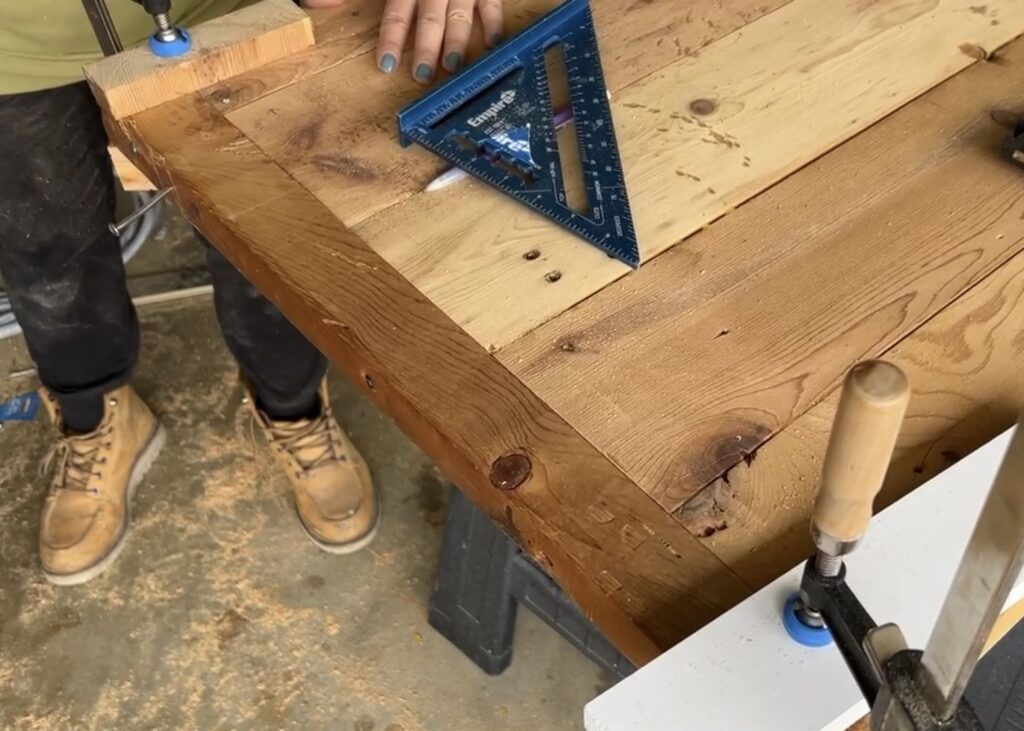
The countertops were just a couple inches too short of the length I needed. Fortunately I had an extra piece of wood left, enough to add end caps on the countertop. But first, I needed to remove half an inch off from each end so that it’s perfectly straight and square. To do this, I used a straight edge – my level, a speed square, and two clamps.
Using the level as a guide, I ran the circular saw across the countertop to make a straight line.
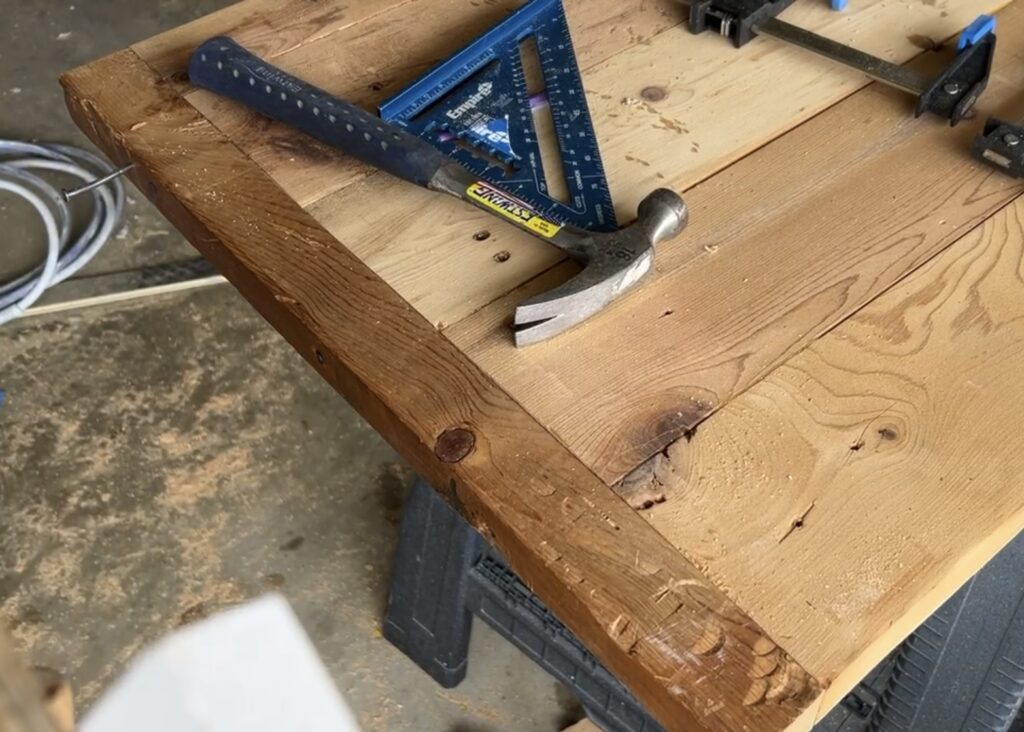
Then add the extra piece of wood on each end with some nails and woodscrews, leveraging clamps to help hold it in place will I work.
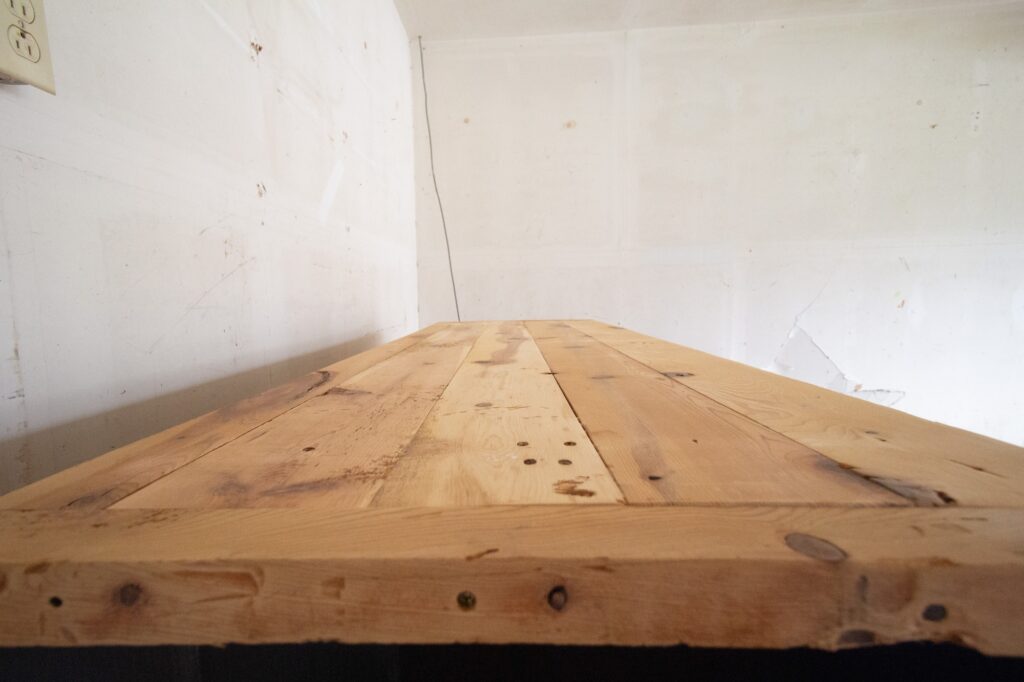
For the last time, I sanded down the countertop again starting at 80 grit and moving up to 220 grit.
Step 5: Final touches to the workbench cabinet
I installed the countertop and attached it to the cabinet bases using some 2.5″ cabinet screws. Reinstalled the drawer fronts and cabinet doors, using a different set of cabinet pulls so that everything looks uniform. The last thing to finish off the whole project was to add trim for the toekick.
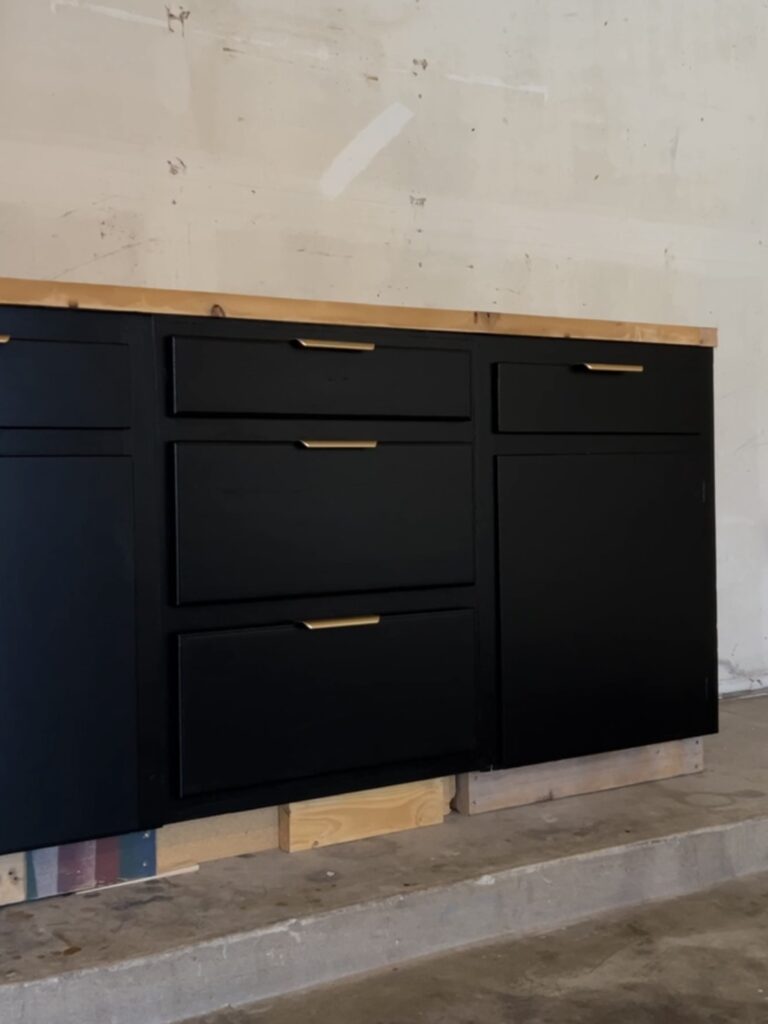
I found some scrap 1/4″ MDF that I had, painted it the same color as the cabinets, and attached with some nails. And this is the final product!
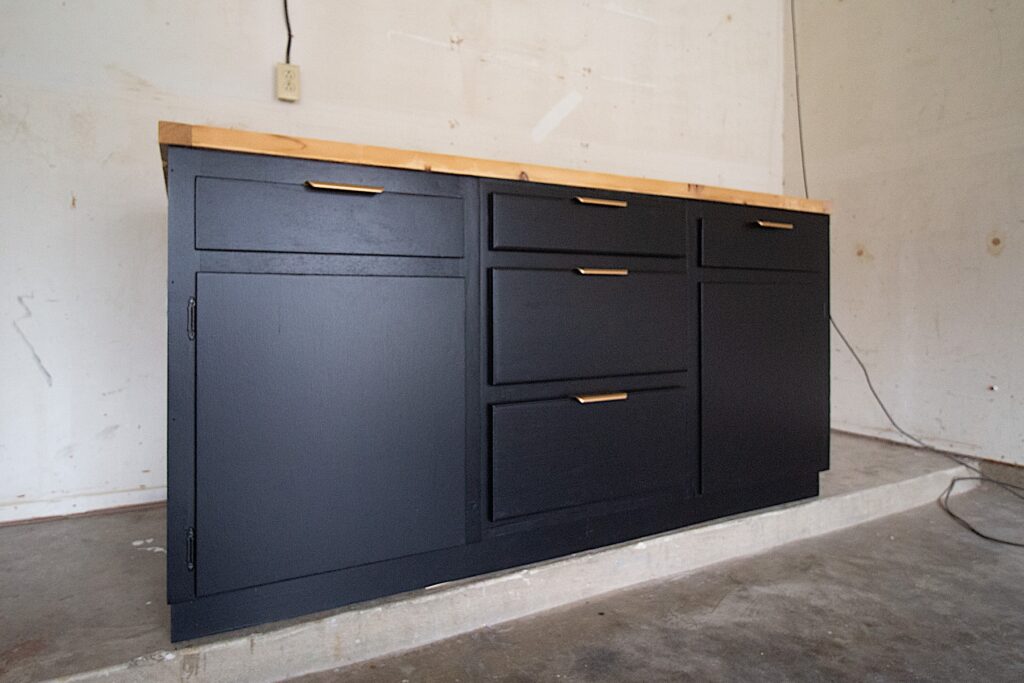
The whole project took a whole weekend to complete, 2.5 days. Because I managed to use things I already had – I spent $0 on this project which is music to my ears – and my bank accounts.
Let me know what questions, you might have in the comments below! Thanks for reading if you’ve made it this far.


Comments +