


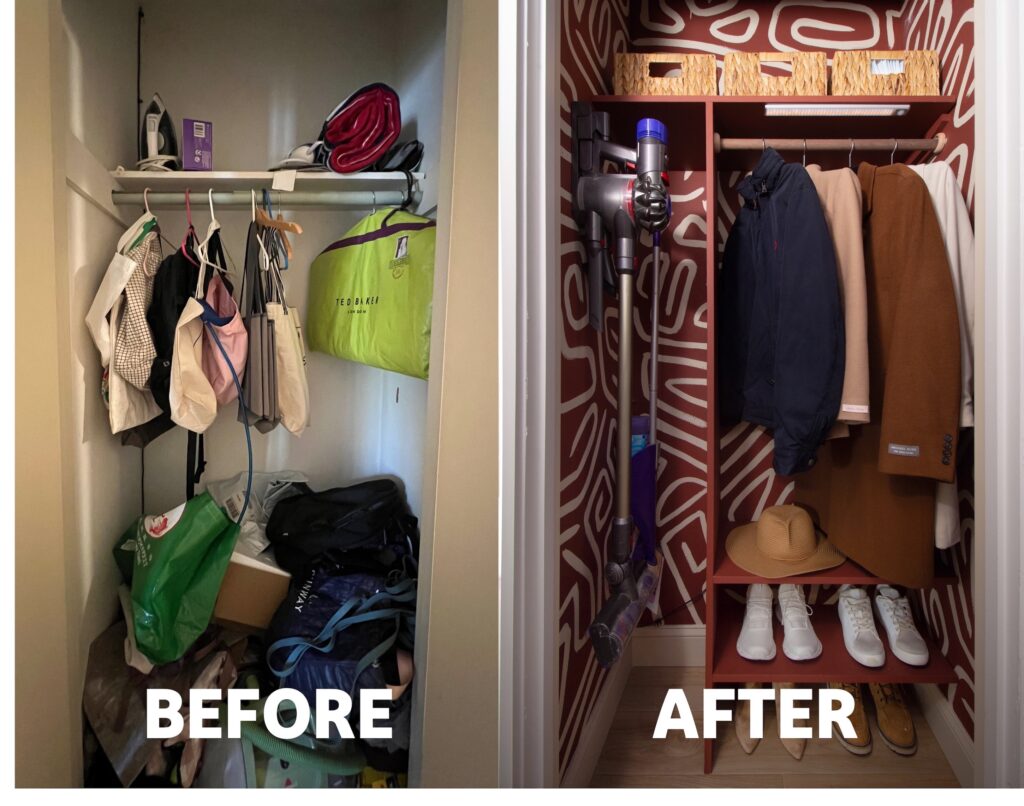
Imagine having a coat closet that you dread opening, knowing that each time you do, an avalanche of shoes, coats, and cleaning supplies is waiting to greet you. That was the state of my coat closet not too long ago, and it was time for a change. This small space needed a makeover that would not only make it organized but also beautiful. In this blog post, I’ll take you through the steps I followed to transform my chaotic coat closet into a functional and aesthetically pleasing storage coat closet.
1. Empty and Declutter Coat Closet
I started by removing everything from the closet and organizing it into piles; trash, donate, keep, store else. To no one’s surprise, most of the things fell into the first two piles. (Why do I have so many tote bags?)
2. Determine Functionality of Coat Closet
Before we get started, we have to figure out what actually needs to go into the closet to make it work for you and your family. This way we can figure out the number of shelves, how wide, etc. For me, these are my must haves:
- hang outerwear
- hang vacumn and mop
- store min 4 pairs of shoes/boots
- store iron and steamer and other misc cleaning supplies
3a. Paint
This step is optional, but I think coat closets are the best place to add some personality and try something different! The space is small, and if it doesn’t flow with the rest of your home, it will be behind closed doors. Lastly, I think it will be a fun little surprise anytime someone opens the closet doors!
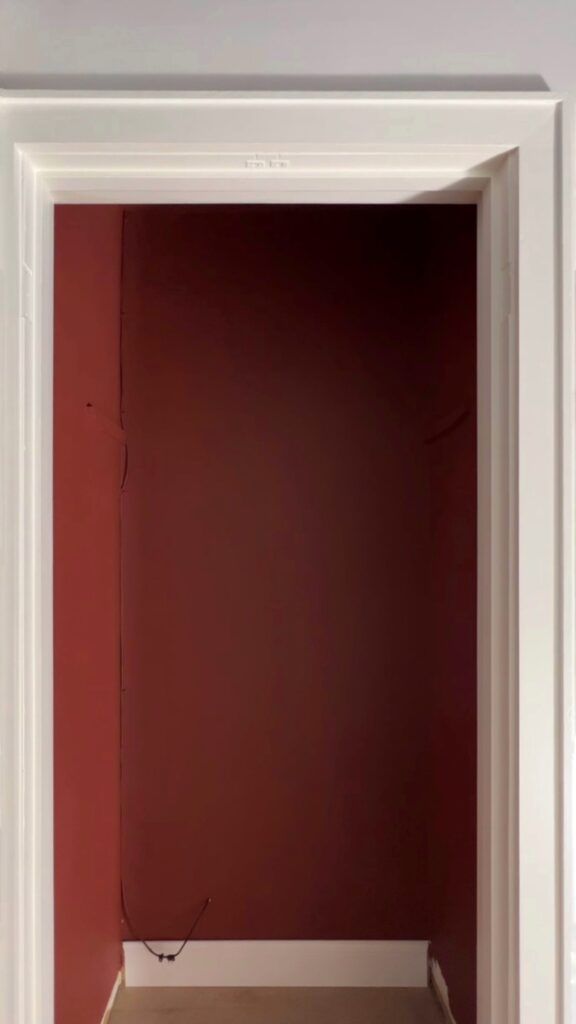
I began by patching some holes on the walls and then wiped all the walls down with a damp microfiber cloth. Next I painted the whole coat closet a nice deep red brown color. The color is Red Barn HGSW7591 by HGTV Home by Sherwin-Williams. It’s the same color I used in the guest room project! For this space I used an entire quart sized paint can – thankfully the quart size was just enough.
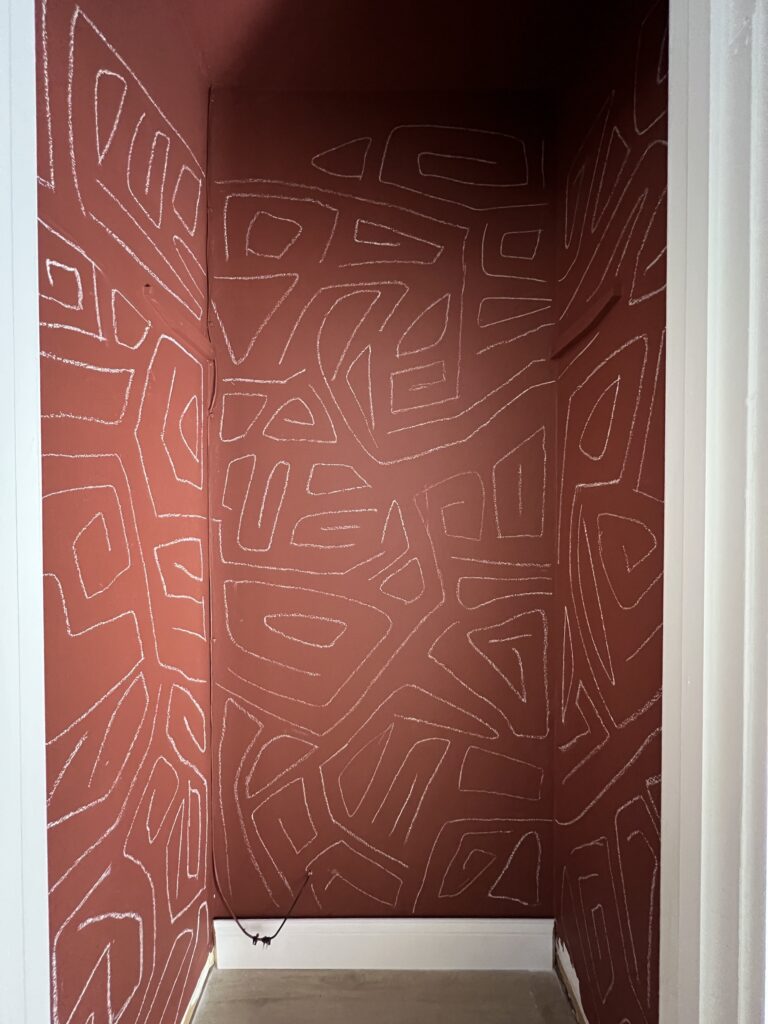
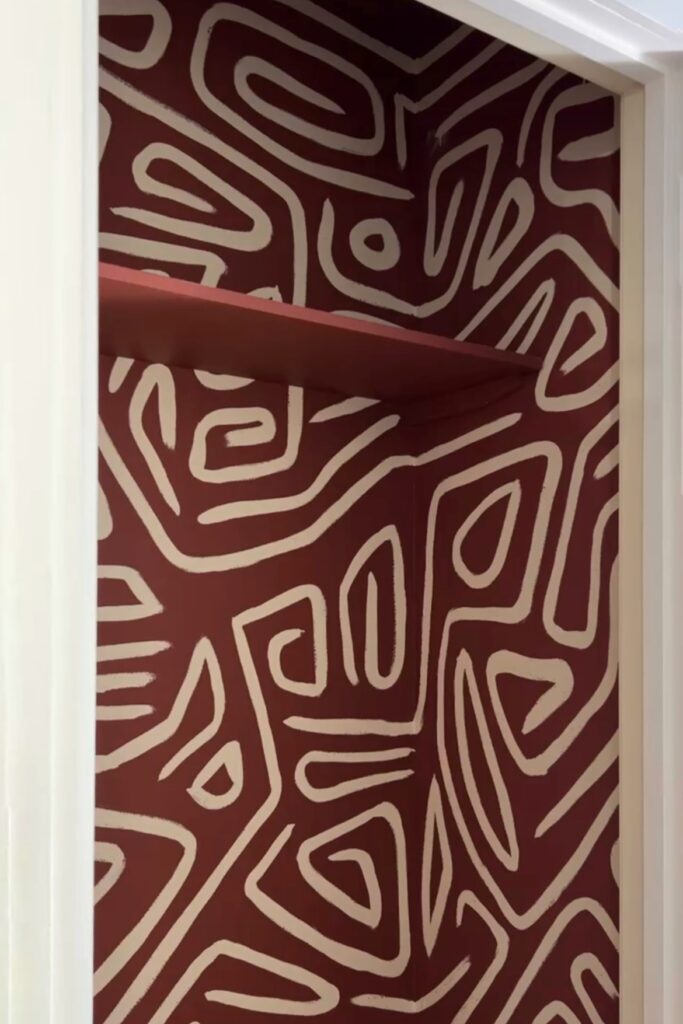
3b. Paint Mural
Again, optional, so let’s have some fun! I was inspired by Kelly Wearstler’s Graffito Wallpaper, and wanted to recreate it as a mural. I picked a color that was neutral and would stand out against the red. So I decided to go with the color Patience HGSW7555 by HGTV Home by Sherwin-Williams. Both of these colors are from the HGTV Home by Sherwin-Williams Earthy Charm Color Collection so I knew they would pair well together.
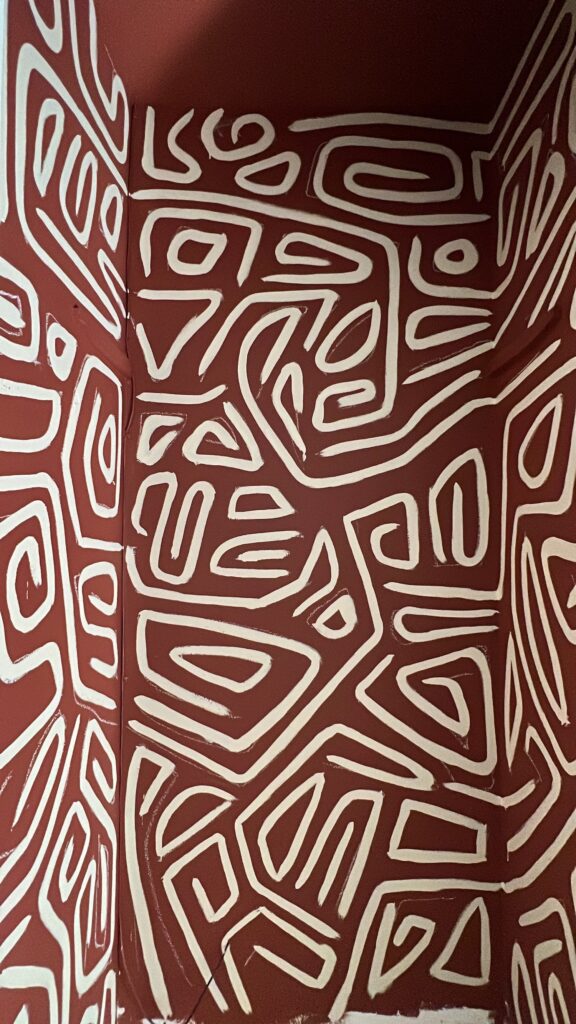
Here are some tips for painting this mural:
- use chalk to draw out your designs directly on to the wall
- use a good quality brush
- just dip you brush into the paint, and then lightly wipe of excess on the edge of the paint can
- don’t apply too much pressure on the brush, just glide the brush along the surface
- start in an area that will not be as visible, as your technique will drastically improve
- if you need to re-dip for more paint, stop/start on a straight line instead of a corner. start/stop on a straight line will allow you for much smoother transitions
4. Build Shelves
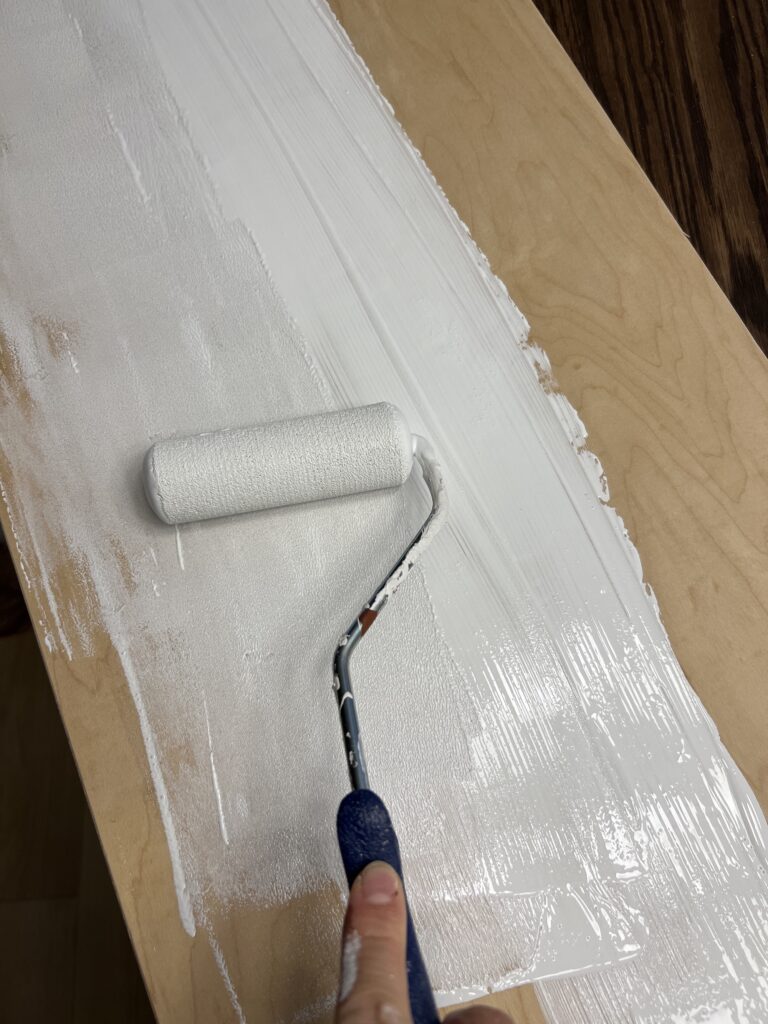
Using my rough sketches, I cut some 3/4″ plywood down to size so that this will be a functional coat closet. The best part is I already had a few scrap pieces of plywood left behind from previous projects. First I primed the wood using Zinsser Bulls Eye 1-2-3 is a water-based primer and a foam roller.
Then I created some pocket holes for the two shoe shelves using the Kreg k4 Pocket Hole Jig.
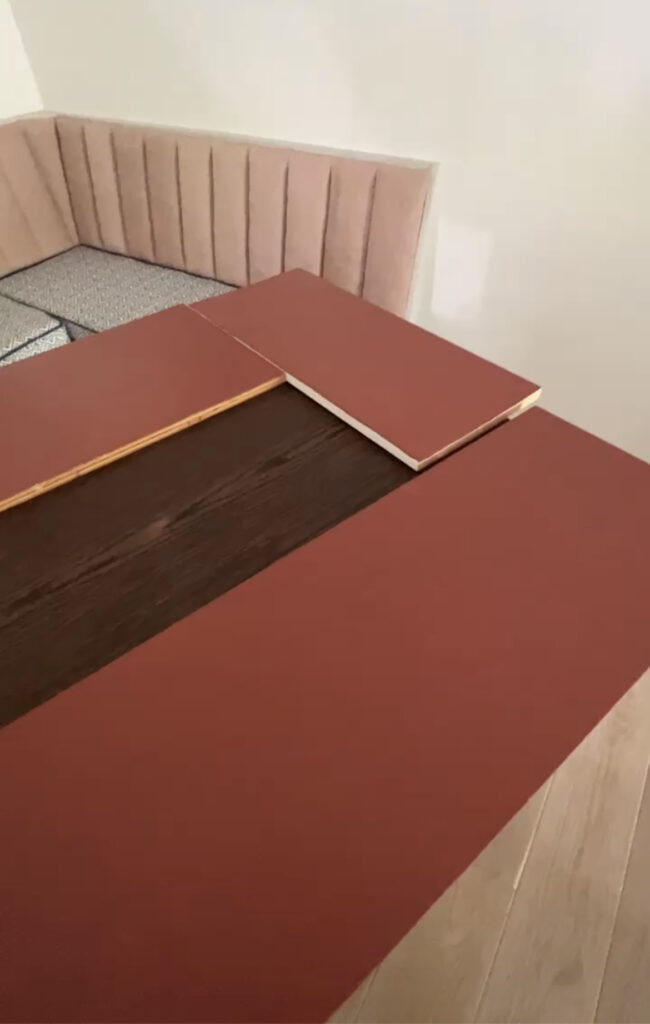
Next, I painted all the shelves the same color as the walls – Red Barn.
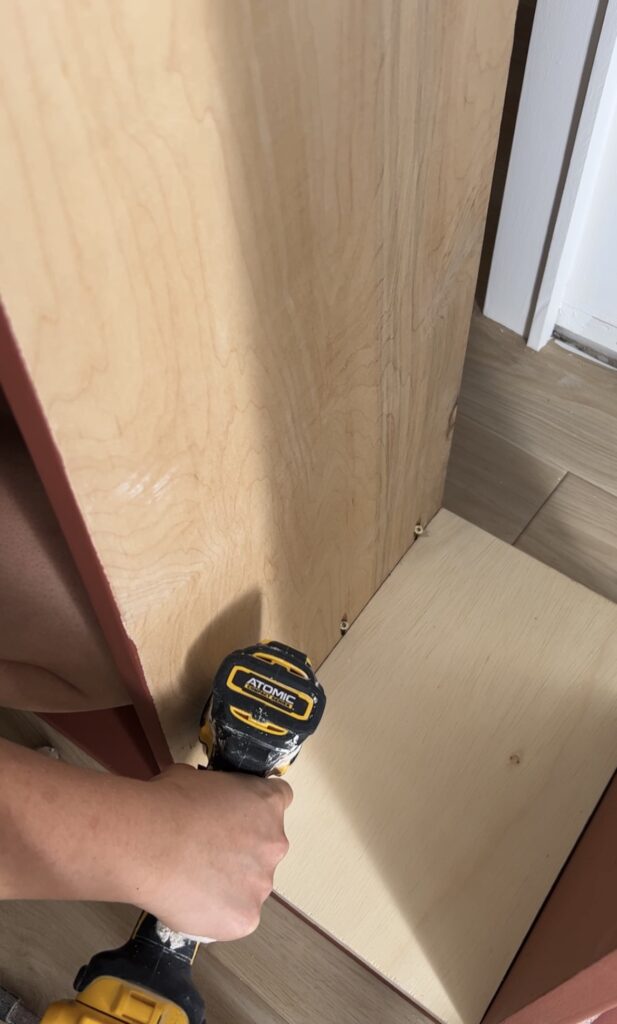
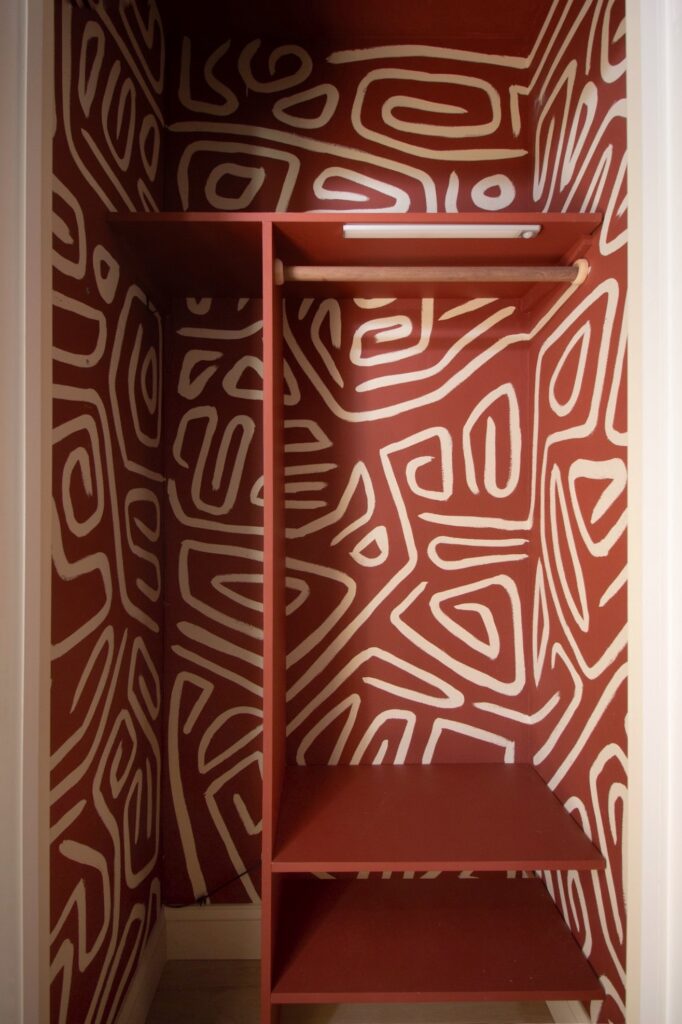
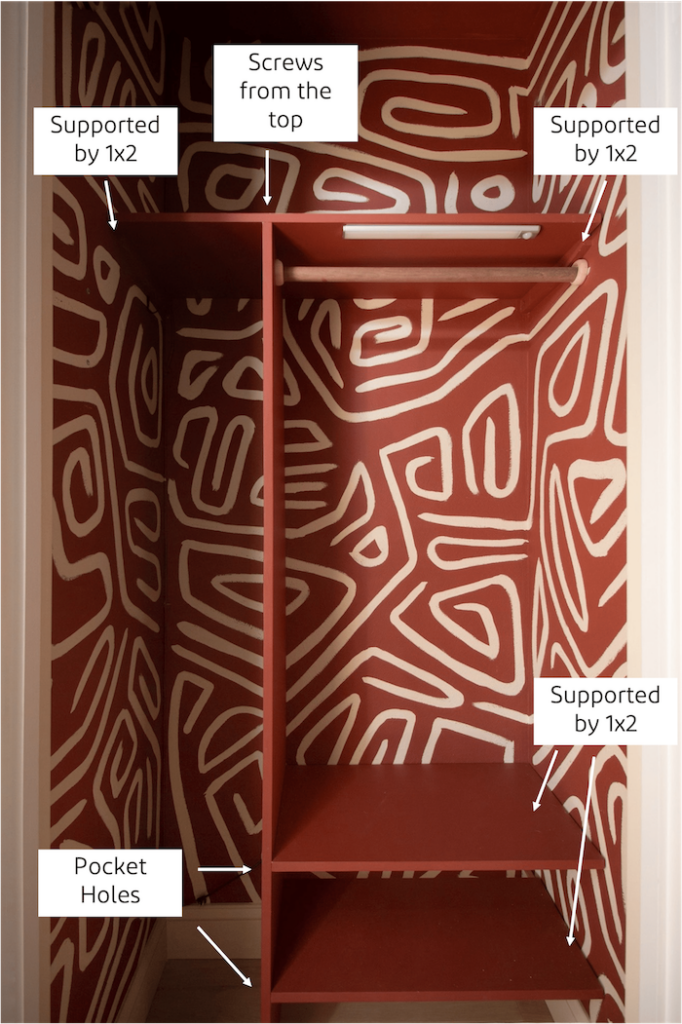
Lastly, it’s time to assemble! I started by adding the top shelf directly into the closet. They hare held up by two pieces of 1×2 which is attached to the wall – but painted the same color as the wall so they are not visible.
Then I assembled the rest of the pieces of plywood. The two shoe shelves have pocket holes on the bottom attached to the left vertical panel. I used a scrap piece of wood as a spacer so I knew how far the shelves should be.
Here’s how it looks fully assembled and breakdown of how its attached.
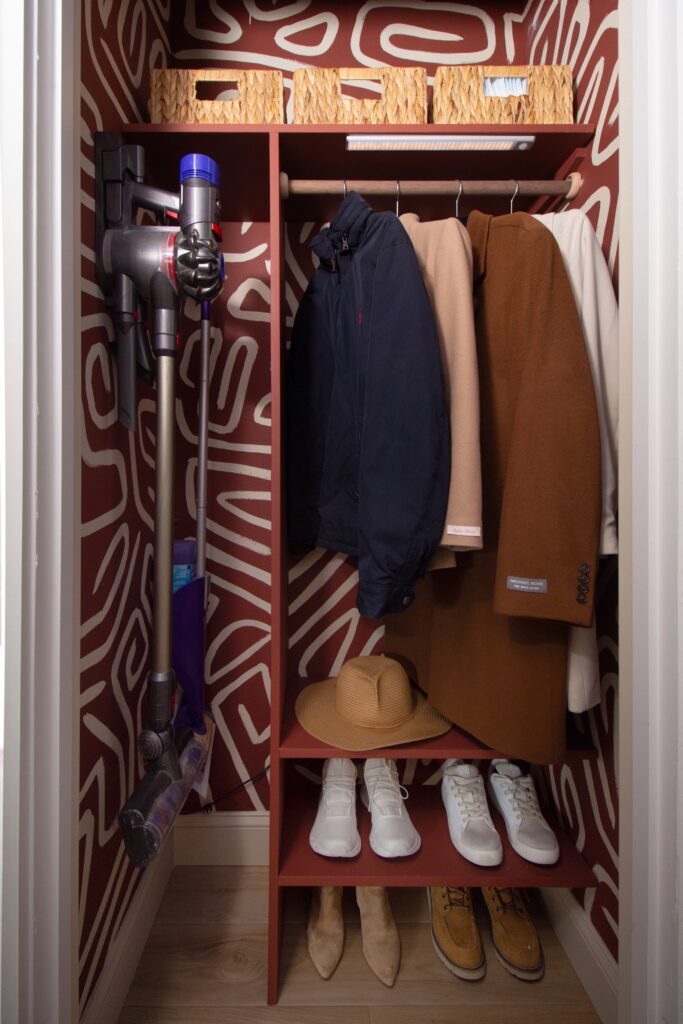
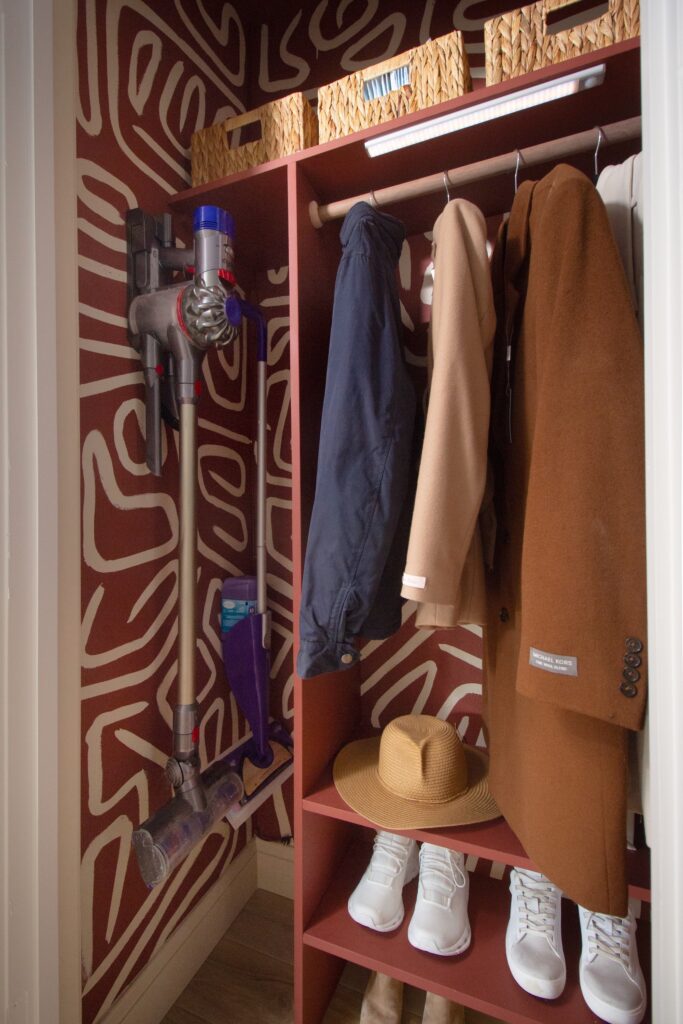
Now fill it with all your necessities and enjoy the fruits of your labor.


Comments +