


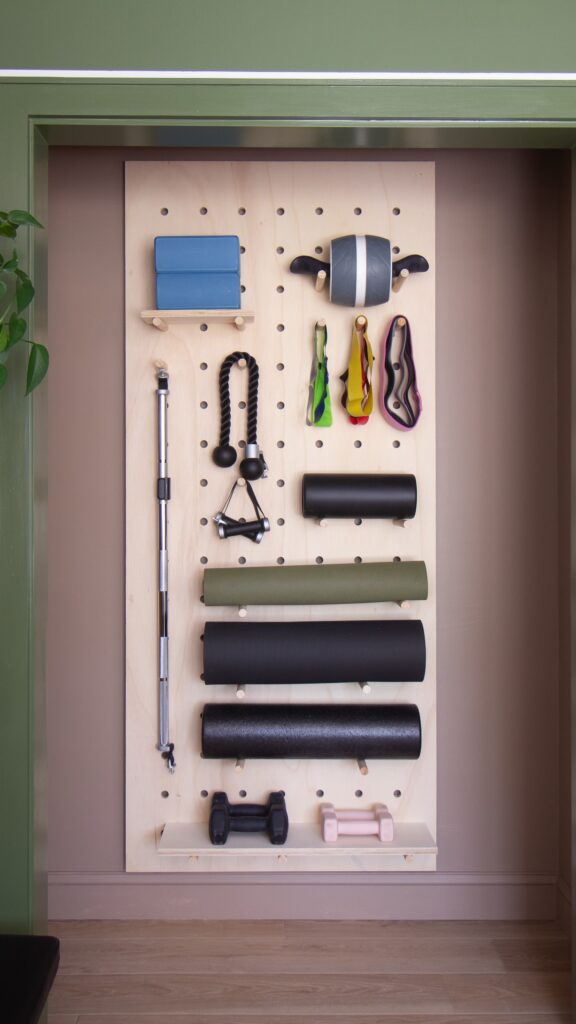
Are you tired of a cluttered workspace with tools, supplies, and accessories scattered everywhere? A DIY pegboard organizer can be your saving grace! In this tutorial, we will show you how to create a functional and attractive pegboard organizer using plywood. Not only will it help you keep your tools in order, but it will also add a touch of personality to your space. Let’s dive into the step-by-step process.
Materials
- 3/4″ Plywood
- 7/8″ Dowels
- 1×2
Tools
- Circular Saw
- Orbital Sander
- 7/8″ Spade or Forstner Bit
- Clamps
- Straight Edge
- Measuring Tape
Instructions
Step 1: Cut the plywood
Consider how you want your DIY pegboard organizer to function. How big you want it, what items would you like it to hold? How big is the space you are hanging the pegboard? This will help determine how big your plywood should be. I made my plywood 80″ x 34.5″.
Using a circular saw, cut your plywood down to size. I like to clamp a straight edge down to the plywood and use that as a guide to make sure my cuts are nice and straight. Once the plywood is cut, give it a nice sand with 220 grit sandpaper.
Tip: if you are cutting against the grain, usually the short side of a 4×8 plywood, lay down a strip of painter tape on the plywoof before you cut. This will help prevent tearout and splintering.
Step 2: Make a template
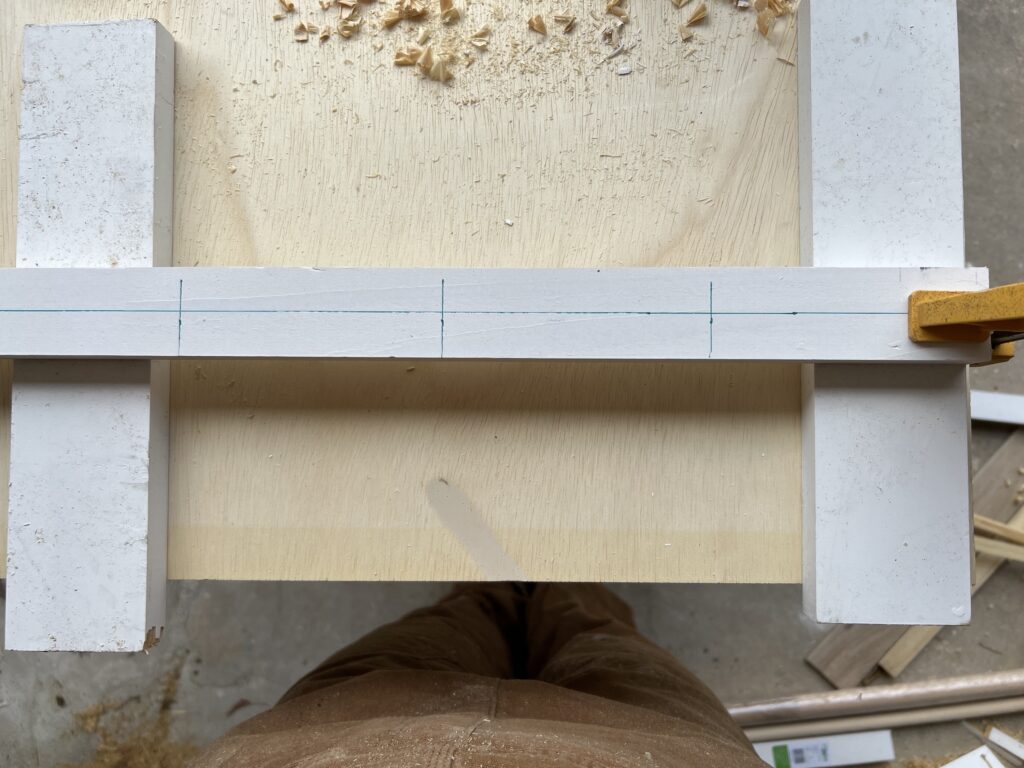
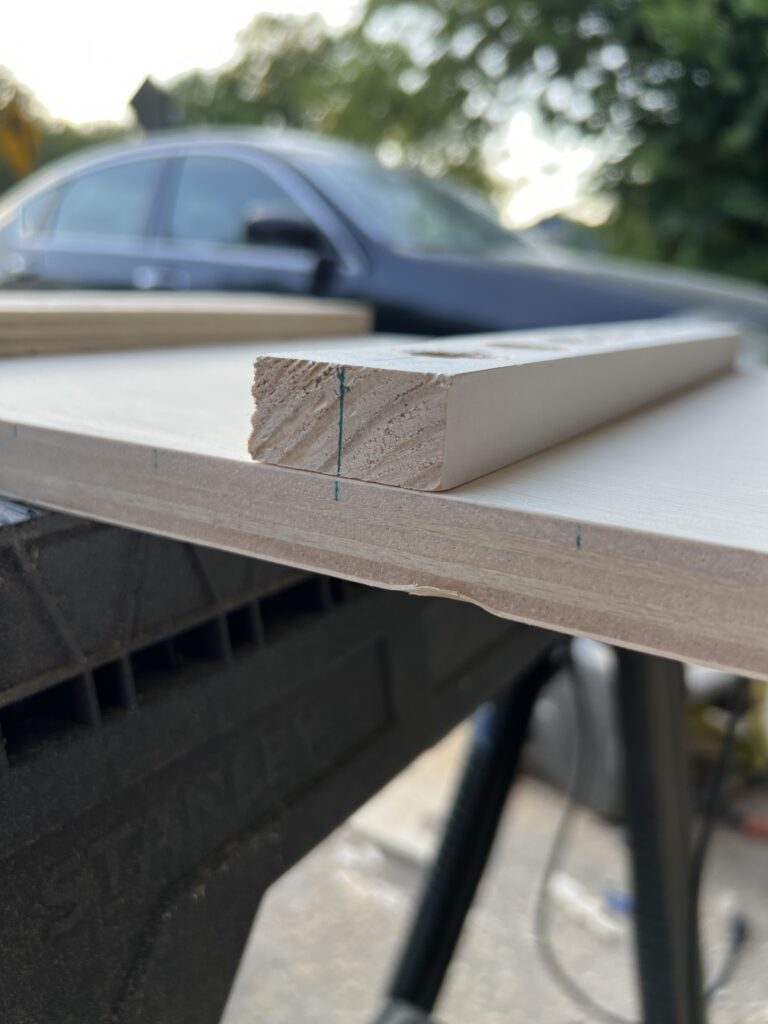
Determine how many holes you want horizontally. To make this process easier, make a template. Grab a 1×2 that is the exact length of your plywood horizontally (for mine, the length was 34.5″). Determine how many dowels you would like across each row and then determine the spacing by dividing the total length by the number of dowels. For example 34.5″ / 7 = ~4.3″.
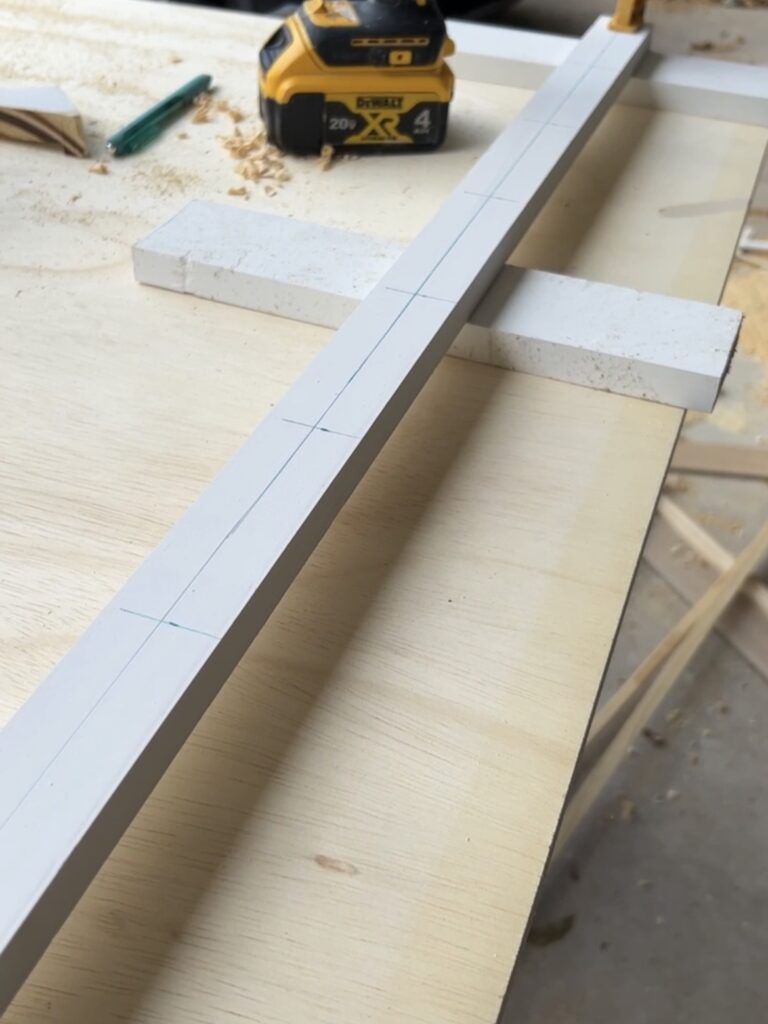
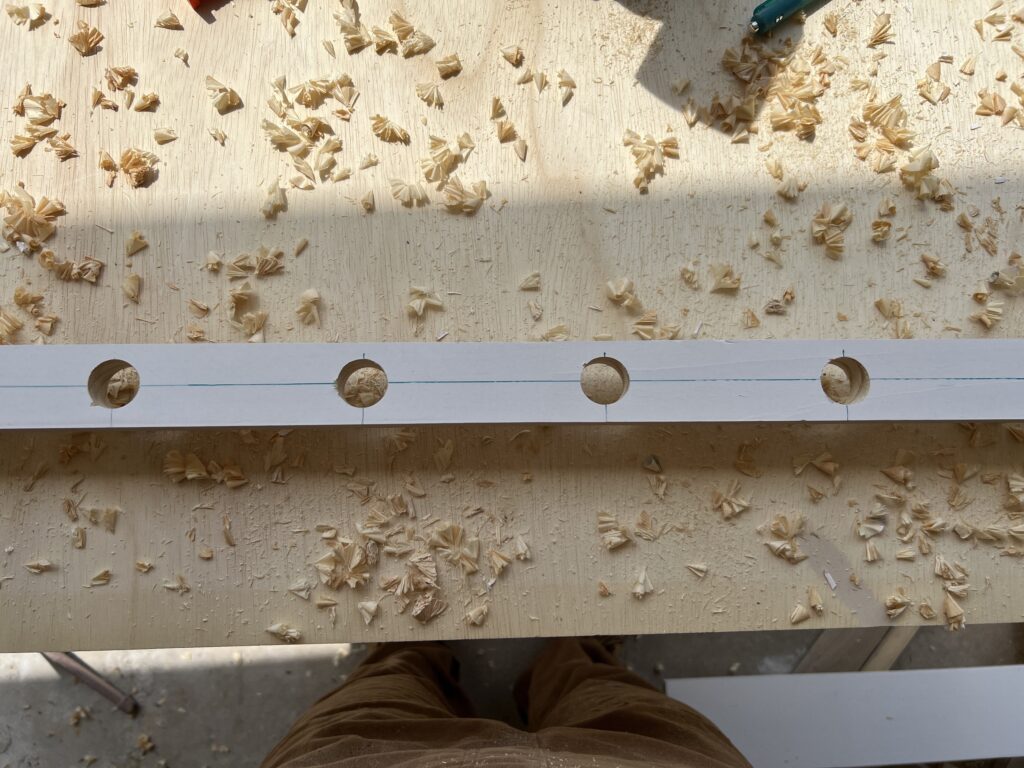
Use a measuring tape and pencil to mark the center of the holes on the 1×2. Then use a speed square to make a line across the 1×2. Next you want to draw a horizontal line across so that your 1×2 ends up looking like this.
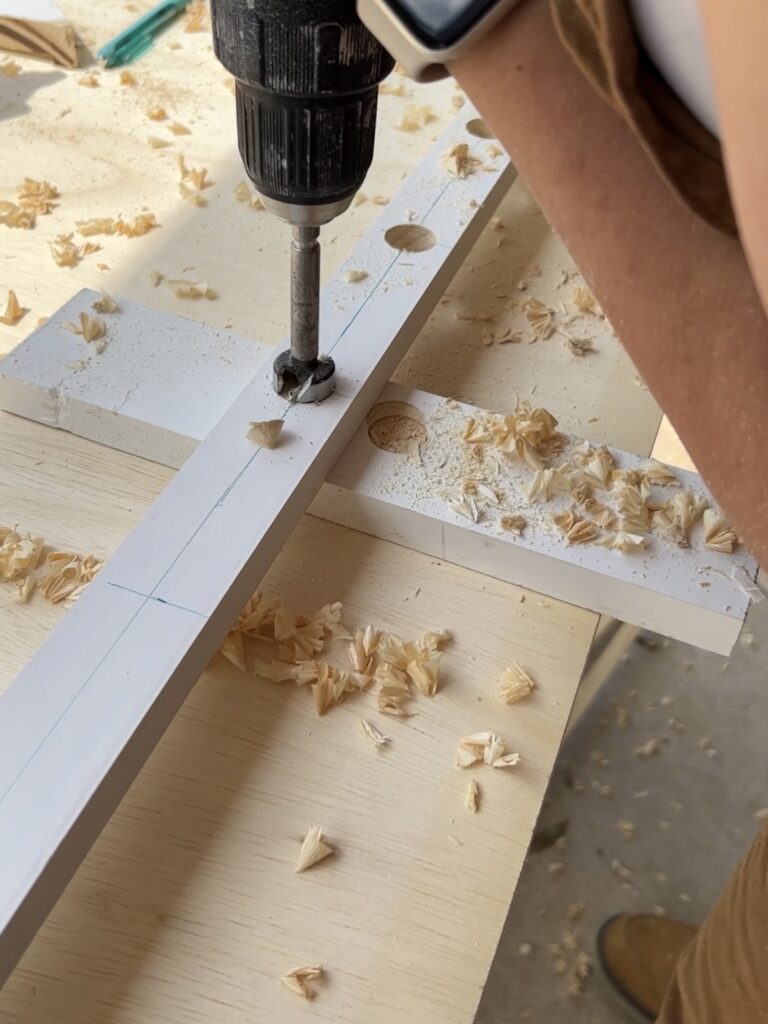
Clamp your 1×2 down to your work surface with some spacers underneath, and the using a spade bit or forstner bit, drill holes at each of the center line.
The final template should look like this:
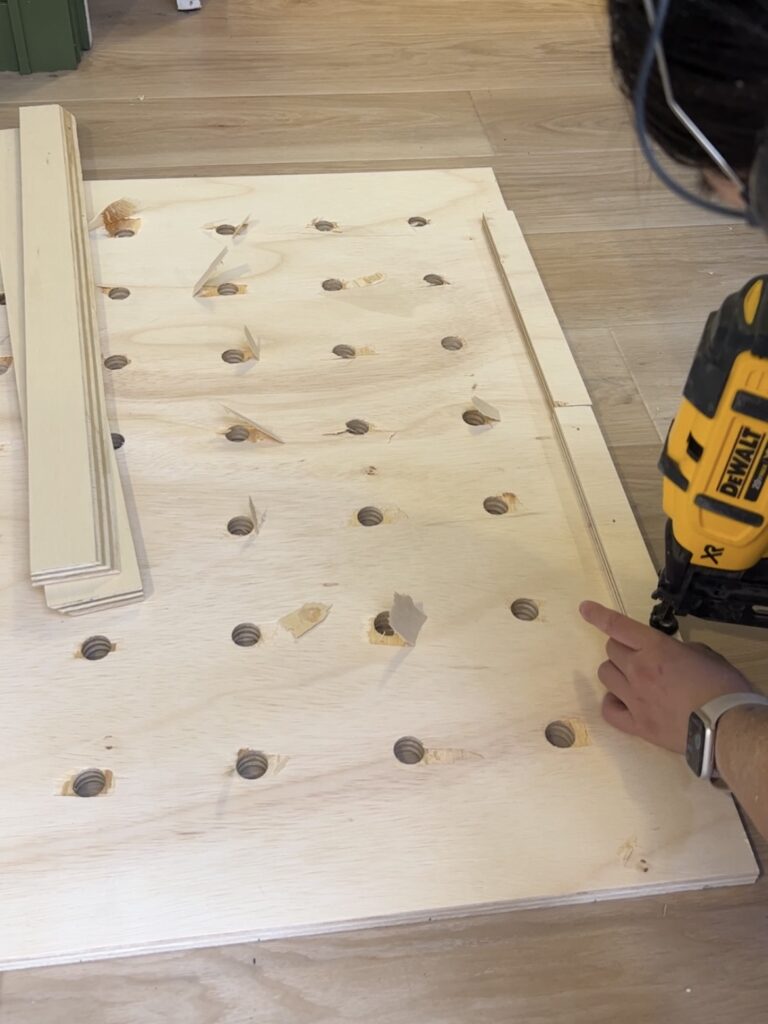
Step 3: Drill holes for dowels
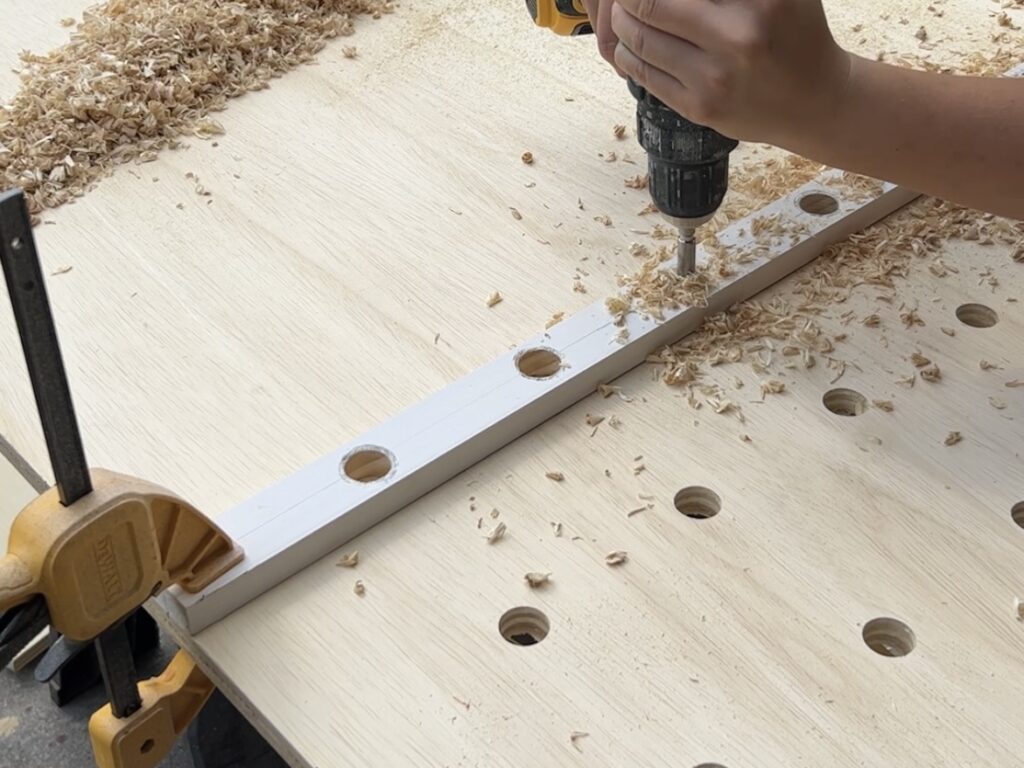
On sides of your template, mark the centerline. Then on the edge of your plywood, mark the distance of each row. For a uniform look, the the distance of each row should be the same distance as each hole. For example, in the previous step I determined that I want my holes to be 4.3″ apart, so each row should be 4.3″ apart as well. You want to then line up the centerline on your template to each mark on the plywood and clamp it down.

Next, using the same spade or forstner bit, drill a hole into the plywood using the template as a guide. Once you are done with the row, unclamp, line up the template with the next row, and continue until you are done.
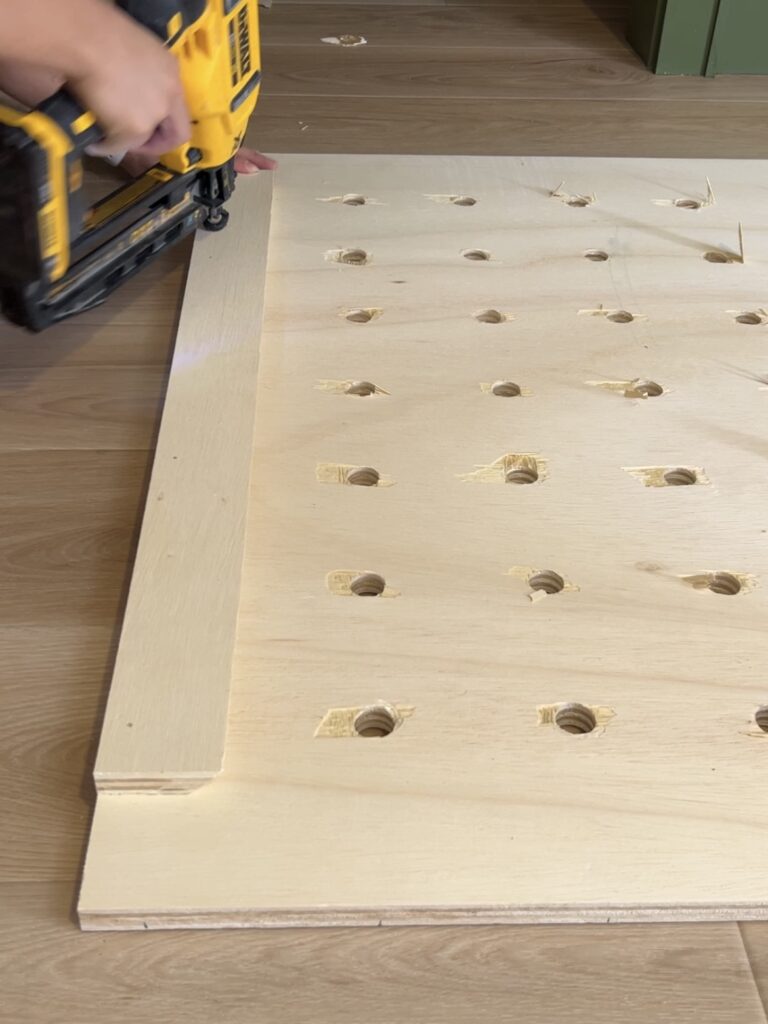
Step 4: Make and install french cleat
Now that we are done with the plywood, let’s hang it up. We are using a french cleat method to hang up the pegboard.
Find some scrap 3/4″ plywood, that is close to the length of the plywood. You will need 3 pieces, two of the pieces should be cut at a 45 degree angle the long way. You can use a circular saw to make that cut or a table saw which is an even easier option.
Next you want to add the spacer to the bottom backside of the plywood using screws or a nail gun. And then attach one of the cleat to the top backside of the plywood, using wood screws. Make sure the cleat is angled correctly – the slant should be facing inward.
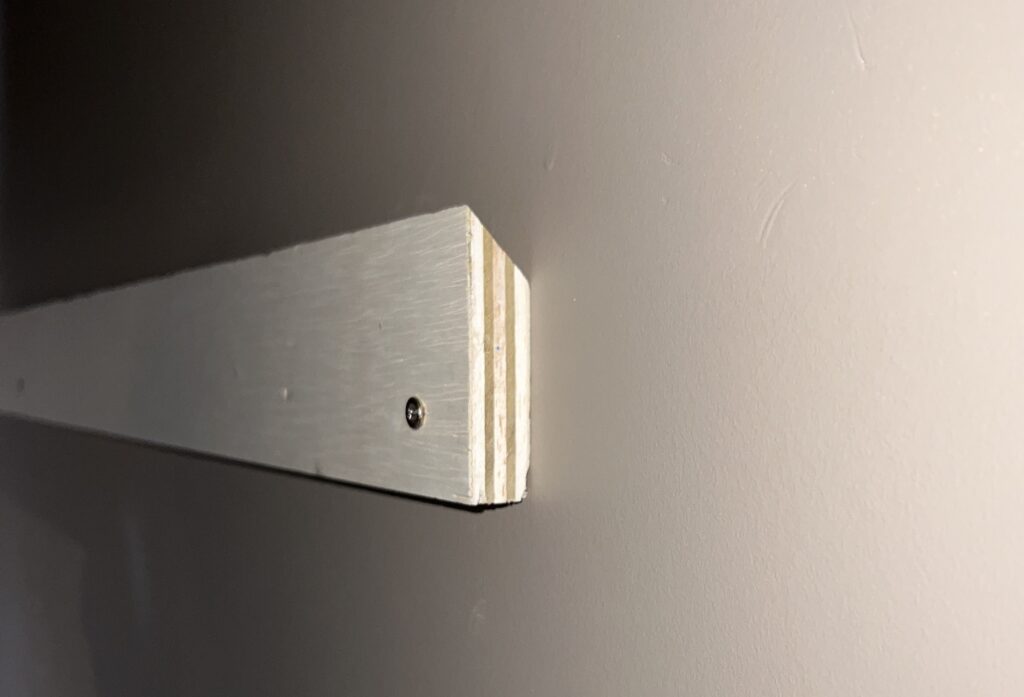
For the other cleat – it should be installed to the studs on the wall. Make sure to use a stud finder to locate the studs, otherwise use a heavy duty anchor, and a level to make sure the cleat is level. The angle of this cleat should be facing downward towards the wall like the image below.
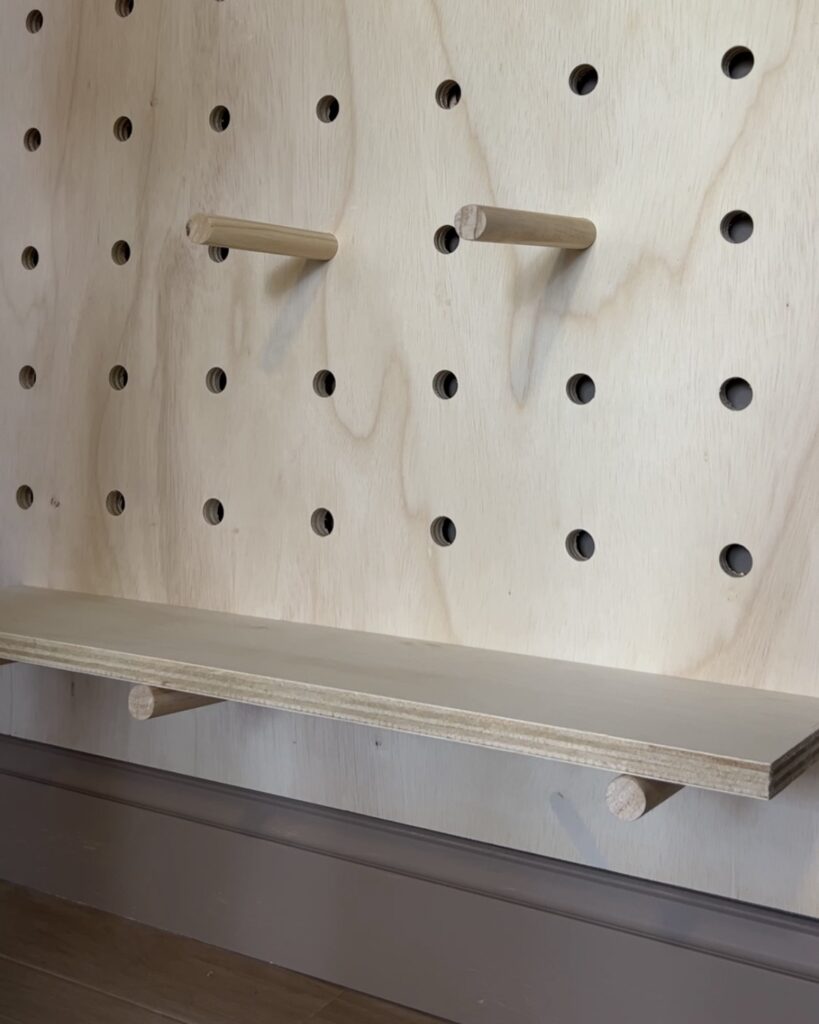
Step 5: Cut and install dowels
I am using 7/8″ dowels for this project. Use a miter saw to cut your dowels down to size, and then give the dowels a light sand. I cut my dowels down to carious sizes depending on what I am hanging from the pegboard.
Once the dowels are all done, insert them into the pegboard to fit your needs. They will fit nice and snug, and you should not be worried about it falling out overtime.
You can even add shelves, simply cut some leftover 3/4″ plywood down to size.
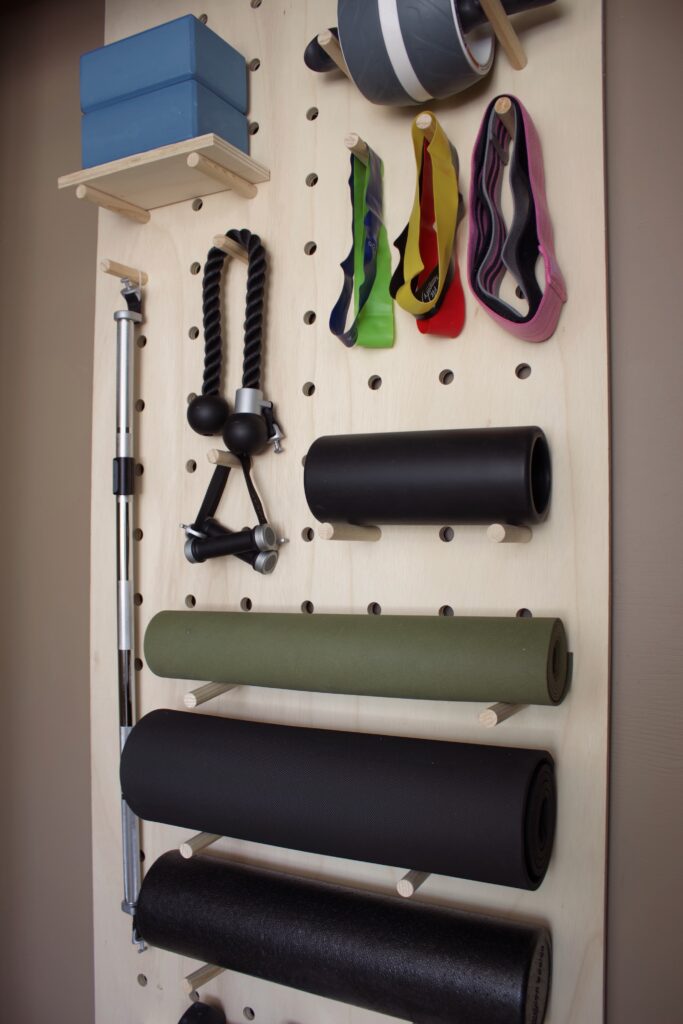
Your DIY pegboard organizer is complete! Step back and admire your organized workspace. This project not only helps you stay clutter-free but also allows you to showcase your tools and create a visually appealing corner in your home.


Comments +